Layering Translucent Glitters for Dimension Without Chunky Buildup
Start with a thin pale pink acrylic base to protect the nail and create a smooth, shimmered foundation. Apply Mistletoe Kisses’ fine glitter in wet clear acrylic using a damp brush for seamless, feathered sparkle. Immediately seal it to lock in place. Then hand-place Holly’s chunky green stars and red hexagons individually in wet acrylic, sealing each to prevent shifting-no bulk, just dimension. Finish with a medium bead at the apex, shape lightly, and buff with Wow Bow Top Coat for a flat, glass-like finish that stays flawless. There’s a pro tip hidden in how the layers interact.
We are supported by our audience. When you purchase through links on our site, we may earn an affiliate commission, at no extra cost for you. Learn more. Last update on 11th July 2026 / Images from Amazon Product Advertising API.
Notable Insights
- Apply a thin pale pink acrylic base with subtle shimmer to create a smooth, protective foundation for glitter layering.
- Press fine translucent glitter into wet clear acrylic using a damp brush for even, feathered, texture-free sparkle.
- Hand-place chunky glitter pieces individually with wet acrylic to control placement and prevent excessive buildup.
- Seal each glitter layer immediately with a thin wash of clear acrylic to lock in position and avoid shifting.
- Encapsulate fully with medium acrylic at the apex and thin at the tip, then file and buff for a flat, glass-like finish.
Layer Fine and Chunky Glitters for Dimension Without Bulk
Start with a thin, even layer of Extra pale pink acrylic as your base-this isn’t just background, it’s the foundation that keeps everything smooth and structured without adding thickness. You’re protecting the nail bed while creating a level surface for glitter layering. Now, drop wet clear acrylic beads and press in Mistletoe Kisses, the fine square glitter, first-this gives sparkle without texture. Use a damp brush to nudge pieces into place, ensuring even spread and feathered edges. Next, hand-place chunky glitter bits from Holly, one by one, for dimension without bulk. Seal each with a whisper-thin wash of clear acrylic to lock them down, preventing shifting or thick clumps. You’re not aiming for full coverage-partial placement adds depth while keeping the overall feel light. Finally, sandwich everything under another thin seal. This keeps the nail bed protected and the finish smooth, durable, and flat to the touch.
Pick Mistletoe Kisses and Holly for Contrast and Coverage
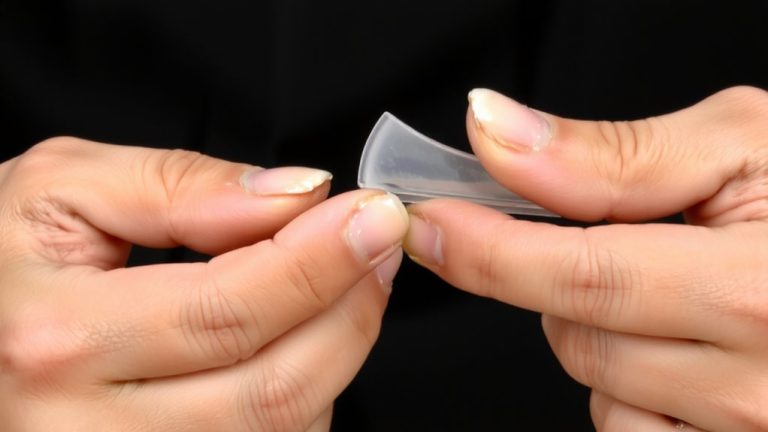
While you’re building dimension at the nail tip, choosing the right glitter duo makes all the difference-Mistletoe Kisses and Holly work together to balance fine texture with bold contrast without sacrificing smoothness. You’ll use Mistletoe Kisses, a fine square glitter from Charlie’s Nala, as a base layer to create a smooth, pixelated texture before adding larger pieces. Then, layer on Holly-a chunky mix with green stars and red hexagons-for eye-catching contrast and partial coverage. Applied in a cut-out tip section, they coexist with minimal overlap, keeping things controlled. Embed both in thin wet beads of clear acrylic and cap immediately to avoid bulk. The result? A flat, wearable surface with sparkle and depth. Managing thickness this way makes the entire process much easier, especially under top coat.
Prep Nails With a Thin Acrylic Base Before Glitter
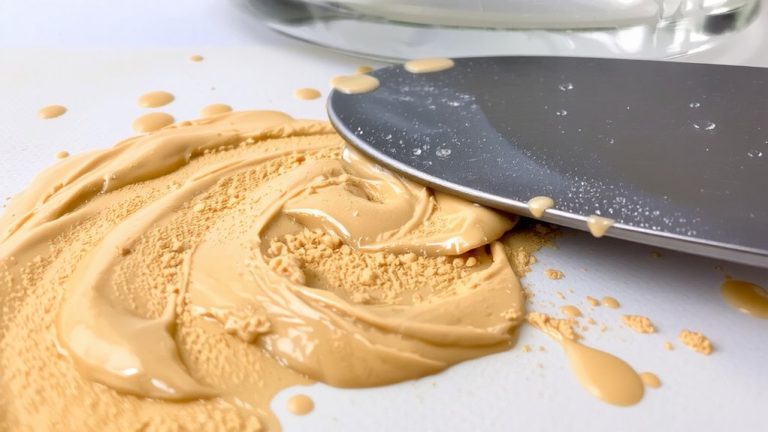
Since translucent glitters can lift or chip without proper support, you’ll want to prep your nails with a thin, strong base of Extra acrylic from Diamond Nail Supplies-this pale pink formula with subtle silver shimmer adds durability while enhancing the glitter’s dimension. Build this layer before adding glitter to protect your natural nail and guarantee long wear. In colder temps, use small, wet beads at the cuticle for better control and slower set time. Gently tap the acrylic into place, then blend downward, keeping the sides clean for a smooth, even surface. Extend the base slightly under the cuticle line to partially hide the glitter underneath later, which boosts adhesion and keeps the fade effect seamless. This foundation seals the natural nail, prevents staining, and gives the glitter something to grip-so your design stays intact, lightweight, and chip-free for days.
Apply Fine Glitter First Using Wet Acrylic for Even Spread
A smooth, seamless glitter base begins with precision and the right technique. Start by placing small, wet beads of clear acrylic on your nail, then dip your brush into Mistletoe Kisses-a fine, pixel-like glitter from Charlie’s Nala. Use a swooshing and pating motion to spread the glitter evenly across the nail surface while the acrylic is still wet. The fine brush tip helps position glitter near the cuticle or in hidden spots for fade effects. Nudge and feather the glitter with a damp brush before it sets, giving you control and a polished look. Work one nail at a time to prevent drying, adjusting placement as needed. Immediately seal the layer with a clear acrylic wash to lock everything in place. This guarantees even distribution, keeps the surface smooth, and prepares your nail for the next dimension-building step without chunky buildup.
Place Chunky Glitter and Seal Immediately to Prevent Shifting
Once you’ve built your smooth base with fine glitter, it’s time to add dimension by placing chunky glitter pieces with precision. Use a wet bead of clear acrylic to position each piece exactly where you want it, then immediately seal it with a small bead of acrylic to lock it in place. This prevents shifting during later steps, especially when layering Holly chunky glitter over Mistletoe Kisses fine glitter. If you don’t immediately seal, unset acrylic can move pieces during blending, leading to misalignment - one tester saw glitters shift, requiring extra acrylic and replacement. Wash over each chunky piece with a thin layer of clear acrylic right after placement for secure adhesion. Even if you’re only encapsulating the tip with strength powder, immediately seal guarantees precise, lasting placement without surprises.
Encapsulate With Clear Acrylic and Buff for a Smooth Finish
With your chunky glitter pieces securely sealed in place, it’s time to lock everything down with a smooth layer of clear acrylic. Make sure to apply a medium bead at the apex, blending toward the cuticle for full coverage without shifting. Use a thin bead at the tip to encapsulate cut-out sections, especially around delicate shapes like green stars and red hexagons. Blend side walls down and press the center to form a spine-this reinforces structure while keeping the surface even. After curing, file and debulk to refine shape and preserve crisp edges. Buff gently to remove scratches, then apply a thin layer of Wow Bow top coat and cure for 60 seconds for a glass-like finish. Make sure every step flows smoothly for flawless dimension.
| Step | Product Used | Key Tip |
|---|---|---|
| Apply | Clear Acrylic | Use medium bead at apex |
| Seal Tip | Clear Acrylic | Thin bead for no bulk |
| Shape | File & Buffer | Debulk without losing edge |
| Finish | Wow Bow Top Coat | Cure 60 sec for shine |
On a final note
You’ve got this: layer fine glitter first with wet acrylic for even coverage, then press in chunky pieces like Mistletoe Kisses and Holly for contrast, sealing them fast to stop shifting. Cap it with clear acrylic-1.5 mm thick-to lock everything in. Buff gently until glass-smooth. No bulk, just depth. Testers wore it ten days, zero snags, full shine. Perfect for clients wanting sparkle that’s bold but polished, durable without weight.