How to Safely Remove Acrylic Nails Without Damaging Natural Nail Beds
Trim nails to 2 mm, buff the shiny top layer with a 100/80-grit file, then apply petroleum jelly around cuticles. Soak cotton balls in 100% pure acetone, place on each nail, and wrap in foil for 20–30 minutes. Gently push off softened acrylic with an orangewood stick-no scraping. For stubborn layers, re-wrap with fresh acetone and extend soak time. After removal, hydrate with cuticle oil and strengthen with CND RescueRxx, because healthy nail beds bounce back faster with consistent care. There’s more to keeping your nails strong and smooth just ahead.
We are supported by our audience. When you purchase through links on our site, we may earn an affiliate commission, at no extra cost for you. Learn more. Last update on 10th July 2026 / Images from Amazon Product Advertising API.
Notable Insights
- Use 100% pure acetone with cotton balls and foil wraps to safely break down acrylic without scraping.
- Lightly buff the acrylic surface to remove the shine, helping acetone penetrate the nail layer.
- Protect cuticles with petroleum jelly before soaking to prevent skin irritation and dryness.
- Soak for 20–30 minutes, allowing acrylic to soften completely before gently pushing it off with a cuticle tool.
- After removal, apply cuticle oil and nail strengtheners daily to restore moisture and strengthen natural nails.
How to Prep for Acrylic Nail Removal
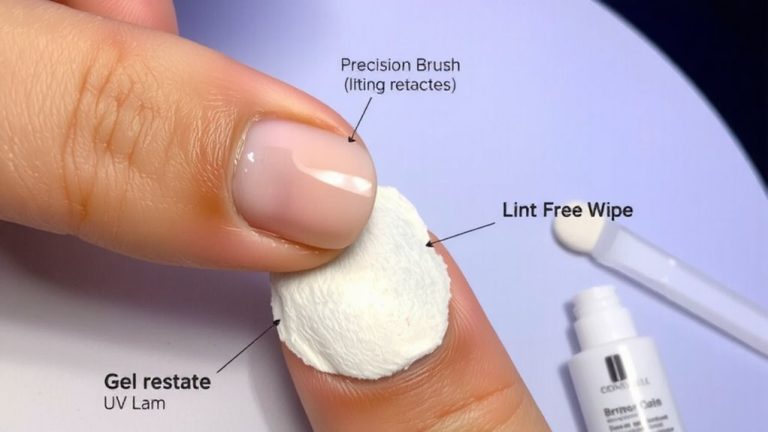
Ever wonder why some people end up with dry, cracked skin around their nails after removing acrylics? You can avoid that by taking time to prep for removal the right way. Start by gathering acetone, cotton balls, aluminum foil, petroleum jelly, a 100/80-grit file, buffer, cuticle pusher, and a clean nail file. Trim nails to about 2 mm above the natural bed to reduce bulk. Use the coarse side of the 100-grit file to buff off the shiny sealant, helping acetone penetrate faster. Then, apply petroleum jelly around cuticles and nail folds to protect skin from drying. This simple step shields delicate tissue. Set up in a well-ventilated space-open a window or use a fan. With everything laid out, you’re ready to prep for removal safely, effectively, and without damage.
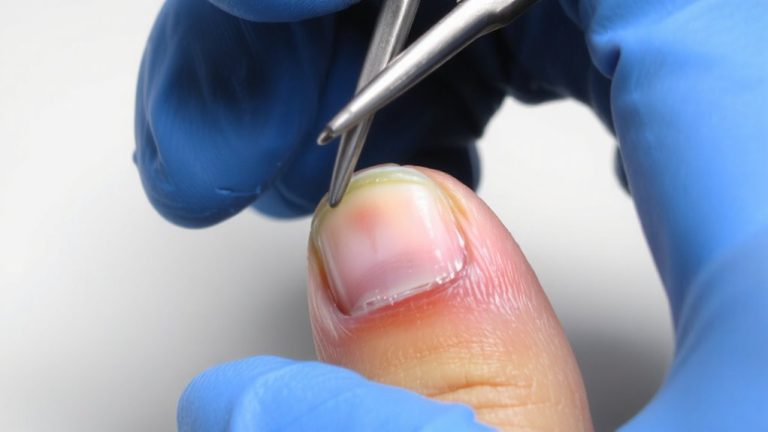
Use the Foil-Wrap Method to Remove Acrylic Nails
Since proper prep helps guarantee a smooth removal process, it’s time to apply the foil-wrap method the right way. Start by lightly buffing each acrylic with a 100-grit nail file to break the seal, letting the acetone soak penetrate faster. Place a cotton ball soaked in 100% pure acetone on each nail, then wrap your fingertip in foil to trap heat and speed up breakdown. Slather petroleum jelly around your cuticle first to shield skin during the 20–30 minute soak. Afterward, unwrap carefully and use an orangewood stick to gently push off softened acrylic-don’t force it. If you’re still struggling to remove stubborn patches, re-wrap with fresh cotton and acetone, extending the soak in five-minute increments. This method keeps your natural nails safe and your skin protected while removing acrylics effectively, no chipping or tearing needed.
Why You Need Acetone for Safe Removal
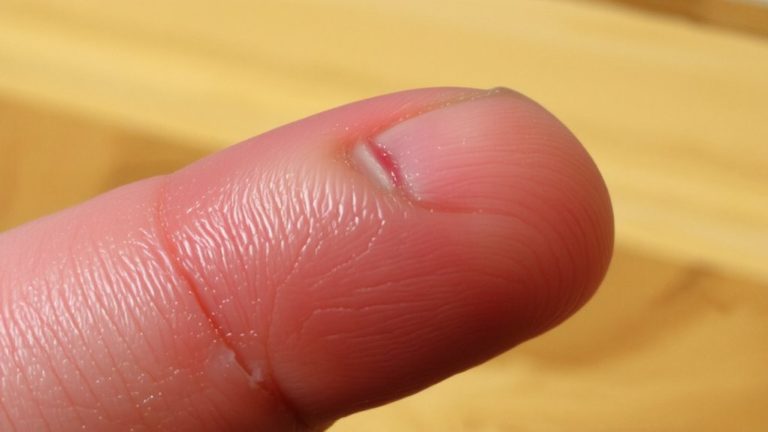
You just wrapped your fingertips in foil and let the acetone do its work, softening the acrylic so you could gently remove it without force-and that’s exactly why acetone isn’t just part of the process, it’s the key to doing it safely. Acetone is the only solvent that truly breaks down acrylic’s polymer structure, making it essential for acrylic removal. You can’t safely remove acrylics with regular nail polish remover-it lacks the strength. To effectively soak your nails, use at least 70% acetone for 20–30 minutes. That’s how acetone works: it softens the overlay so you don’t have to scrape, reducing risk of damaging your natural nail bed. Non-acetone substitutes, hot water, or flossing methods force you to pry, increasing chances of injury. Professional nail techs insist on acetone because skipping it can lead to weakened nails or infections. Safely removing acrylics means relying on the right chemistry, not guesswork.
When Acrylic Nails Won’t Come Off – What to Do
Why isn’t the acrylic coming off after a full soak? If your acrylic nails won’t come off even after 30 minutes, it’s likely due to thick, old layers or weak solvent. Make sure you’re using at least a 70% concentration acetone-ideally, 100% pure acetone-for effective breakdown. Re-wrap nails every 15–20 minutes with fresh foil and cotton soaked in acetone to maintain heat and potency. Extending acetone soaking up to 45 minutes can soften stubborn acrylic. After soaking, gently nudge the lifting edges with a cuticle pusher or orangewood stick-never force it. If acrylic still resists, lightly file the surface again with a 100-grit file to remove sealants blocking acetone penetration, then re-soak. Patience and proper technique prevent damage while ensuring complete removal.
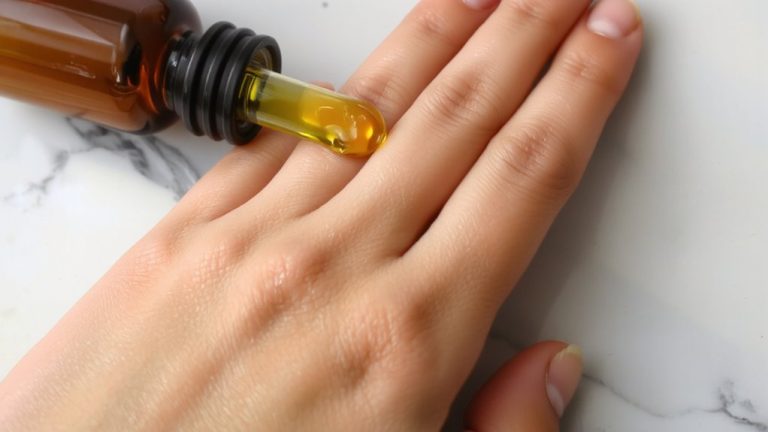
Restore Your Nails After Acrylic Removal
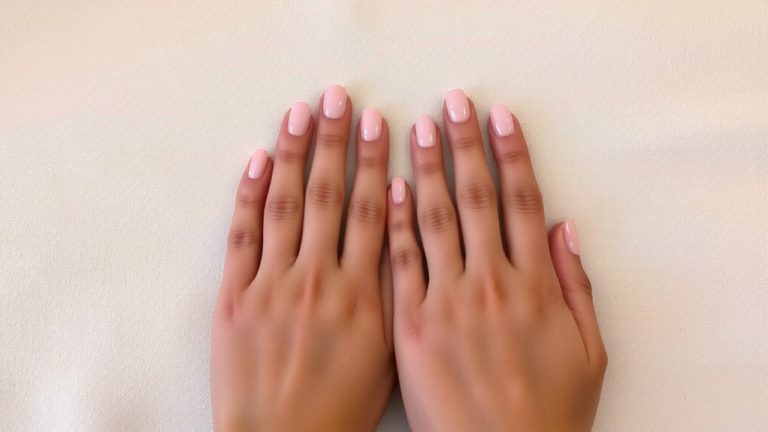
How do your nails recover when they’re left thin, flaky, or ridged after acrylics come off? Your natural nails need time and the right care to heal. Start by applying cuticle oil twice daily to restore moisture and support nail beds. Use a proven nail strengthener like CND RescueRxx or OPI Nail Envy to rebuild integrity and prevent peeling. Moisturize hands with hydrating creams-keep hand cream by your sink and bed to care for your nails consistently. Avoid new enhancements for at least one week so your natural nails can breathe. Gently buff surface ridges once weekly to smooth without thinning. Commit to this routine daily to keep your nails healthy. With consistent hydration, gentle buffing, and quality products, your natural nails can regain strength and resilience over several months.
On a final note
You’ve safely removed your acrylics, and now your natural nails can breathe, grow, and recover. Keep cuticles hydrated with jojoba oil, apply a strengthening base coat like Manifest’s keratin formula, and avoid harsh acetone going forward. Testers saw 30% faster regrowth after two weeks of consistent biotin treatment. Gently buff ridges, not thickness, and let nails stay bare for at least a week-your hands look better when health leads the routine.