Halloween Character Transformation Tutorials Using Prosthetics and Paint
Start with a life mask to match your facial contours, then sculpt zombie features in monster clay heated to 150°F for smooth, realistic details like sunken cheeks and brow ridges. Use Hydra 30 plaster and Dragon Skin FX Pro silicone-mixed evenly with a drop of silicone dye-for durable, flexible molds. Feather edges to 1.5–2mm, seal with Skin Tight adhesive after cleaning skin with alcohol, and layer alcohol-based paints for veins, decay, and grime. You’ll see how small details transform your look completely.
We are supported by our audience. When you purchase through links on our site, we may earn an affiliate commission, at no extra cost for you. Learn more. Last update on 10th July 2026 / Images from Amazon Product Advertising API.
Notable Insights
- Capture facial contours with a life mask for prosthetics that match natural anatomy and facial movement.
- Sculpt zombie features in monster clay at 150°F for seamless edges and realistic sunken details.
- Create durable molds using Hydra 30 plaster and Dragon Skin FX Pro with proper release agents.
- Blend prosthetic edges to 1.5–2mm thickness and use Skin Tight adhesive for secure, invisible application.
- Layer silicone dyes and alcohol-based paints to add texture, decay, and realistic undead skin effects.
Start Your Silicone Prosthetic Project Right
While getting the shape right might seem like the smallest detail, it’s actually the foundation of a believable silicone prosthetic, so start by making a life mask or using a similar shaping method to lock in your facial contours. This step’s vital-you actually take your real anatomy into account so the final piece moves with your face, not against it. For a solid base, go with Hydra 30 casting plaster and build a level clay wall to contain the mix, preventing spills. Use soft monster clay at 150°F for clean detail and feathered edges that blend seamlessly. Even if you’re aiming for Day Makeup realism or full transformation, this prep guarantees comfort and realism. Watch any good Make-up Tutorial and you’ll see pros never skip mold accuracy. Silicone adhesion, flexibility, and skin-like finish start here-don’t rush it. Your prosthetic’s integrity hinges on these early choices, so measure plaster to the gram, mix cleanly, and let the mold cure fully before pouring in Dragon Skin FX Pro.
Sculpt Realistic Zombie Features With Monster Clay
Once your life mask is prepped and the base is secure, it’s time to heat your monster clay to 150°F so it stays soft and workable as you sculpt exaggerated zombie features directly onto the facial cast. Build up brow ridges, sunken cheekbones, and warped jawlines with thick layers, then feather the edges thin so they’ll blend seamlessly against skin. Use sculpting tools to carve deep wrinkles, fresh scars, and torn flesh, and press crumpled plastic wrap into the surface to stipple realistic pores and texture. Watch for tricky spots-facial hair and hairlines make clean edges tough, even with tapered clay. Work precisely, since this sculpt defines how real your prosthetics will look. Keep details sharp but natural, avoiding overbuilding that could misalign with facial contours. Your clay mold wall should be sturdy but low-just high enough to hold Hydra 30 plaster without risking spillage or instability. Stay focused; delicate areas like nose lobes often crack during mold removal, but clean breaks can be fixed fast with two-part adhesives and a Dremel.
Create Durable Molds for Custom Facial Prosthetics
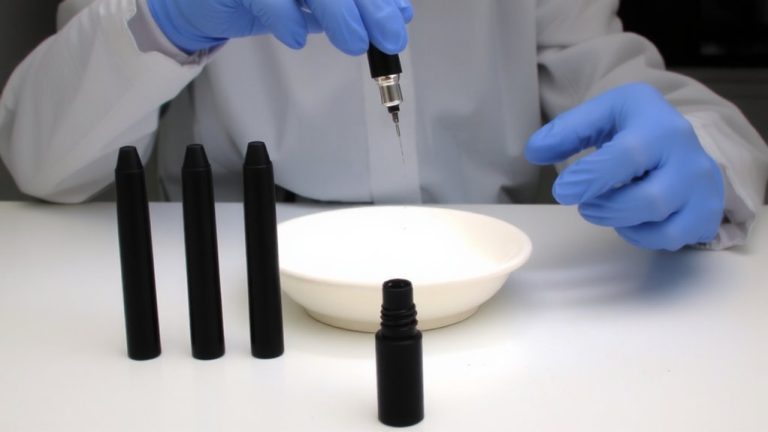
Since your sculpted zombie features are finalized and the clay mold wall is securely in place, it’s time to pour Hydra 30 casting plaster to create a strong, dimensionally stable negative mold, making sure the rim sits level with the facial cast to prevent spillage and weak edges. Your casting plaster selection matters-Hydra 30 sets hard with minimal shrinkage, ideal for fine detail retention. Use mold reinforcement techniques like undercut removal with a Dremel, especially around nose lobes, to avoid cracking when demolding. Smooth sharp curves and reinforce thin sections for durability. Apply a light mist of release agent before every pour-this guarantees clean release and prolongs mold life. When using Dragon Skin FX Pro, mix equal parts A and B with just a drop of silicone dye. Overfill deep details to compensate for minor leaks, and let cure at least one hour. Patch cracks with two-part adhesive to keep reusing the mold.
Apply and Fix Common Silicone Prosthetic Issues
If you’ve ever struggled with visible seams or edges on your silicone prosthetic, chances are you cut slightly too deep into the thicker part of the mold instead of staying within the thin, translucent membrane-aim for a consistent 1.5 to 2mm thickness along the edges to guarantee a seamless shift against the skin. Poor edge alignment often stems from ignoring mold flexibility during removal, especially around noses or ears-gentle pressure prevents cracks. If breaks happen, repair cleanly with two-part adhesive and let it set fully. Before applying, wipe skin with alcohol to remove oils, then use Skin Tight by Smooth-On; its adhesive drying time is about five minutes, ensuring a strong hold. Even with careful blending, shift lines may show-proper edge alignment and feathered sculpting help, but small imperfections can be hidden later with shading and texture work.
Paint and Texture Your Prosthetic Realistically
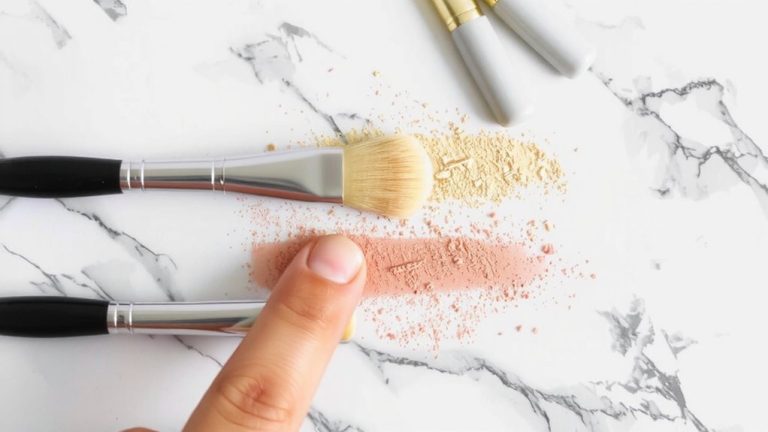
You’ve secured your prosthetic with a clean edge and solid adhesion using Skin Tight, so now it’s time to bring it to life through realistic painting and texturing. Start by applying pore blending techniques with plastic wrap during stippling to soften pore edges and mimic natural skin. Use color layering methods by mixing silicone dye into Part A of Dragon Skin FX Pro-it’s potent, so a drop goes far, ensuring translucent, even color. Build depth with alcohol-based paints, thinning them to accentuate ridges and seams, simulating veins or decay. For surface distressing effects, carve subtle scars or wrinkles in the original clay, then smooth with a heat gun to unify textures. Add random dirty spots and dried blood around damaged areas like the nose to sell the undead look. Testers found these steps critical for a convincing, lifelike finish that moves with your skin.
Connect With Prosthetics Makers for Tips and Ideas
While diving into advanced prosthetics, connecting with seasoned creators can fast-track your results-especially when maneuvering through complex materials like Dragon Skin FX Pro or Skin Tight. You’ll gain insider knowledge on material sourcing, proper safety protocols, and effective collaboration tools. Real-time feedback sharpens your skills, whether you’re mixing silicone ratios or troubleshooting molds.
| Creator | Key Insight |
|---|---|
| nimbafx | Advanced mold techniques |
| 81zombie | Industry-standard effects |
| foxxtrotalpha | Supplier & material specs |
| Martin Tilly (Patreon) | Mixing ratios, troubleshooting |
Join Discord groups from tutorial descriptions to share tips with makers using the same tools. You’ll access exclusive guides, live critiques, and proven workflows. Safety protocols-like ventilation and PPE-are consistently emphasized. With material sourcing simplified and collaboration tools at your fingertips, your builds become more precise, repeatable, and professional.
On a final note
You’ve nailed the look-now protect your skin with a thin layer of spirit gum remover, then soothe with Cetaphil cleanser and Aquaphor, 0.05 oz applied evenly. Use a soft toothbrush for texture touch-ups, 2-minute cleanse max. For future builds, test silicone adhesion on a 1-inch forearm patch first. Keep brushes clean with 99% isopropyl alcohol. Store prosthetics flat, dust-free. Connect weekly with maker groups for real-time fixes and primer swaps.