How to Photograph Nails Accurately Under Natural Daylight Settings
Prep your nails by pushing back cuticles with a wooden stick and trimming loose skin using clean nippers, then moisturize daily with jojoba or vitamin E oil-massage in 20 seconds per nail to reduce flaking. Shoot between 10 AM and 2 PM near a north-facing window, using white foam board as a background and a reflector to soften shadows. Tilt your hand 15–30 degrees under indirect light to minimize glare on glossy finishes. Use a Canon EOS Rebel T7i with 50mm lens or iPhone 15, focus manually, and skip the top coat to avoid shine; submit original images over 1 MB for sharp, true-color results-perfect for flawless detail capture every time.
We are supported by our audience. When you purchase through links on our site, we may earn an affiliate commission, at no extra cost for you. Learn more. Last update on 22nd June 2026 / Images from Amazon Product Advertising API.
Notable Insights
- Position near a north-facing window between 10 AM and 2 PM for bright, neutral natural light.
- Tilt the hand 15 to 30 degrees to minimize glare on glossy or gel nail polish.
- Use a white foam board or paper background with a reflector to reduce shadows.
- Turn off artificial lights and shoot in indirect daylight to ensure accurate color representation.
- Shoot high-resolution photos using manual focus and skip the top coat to reduce shine.
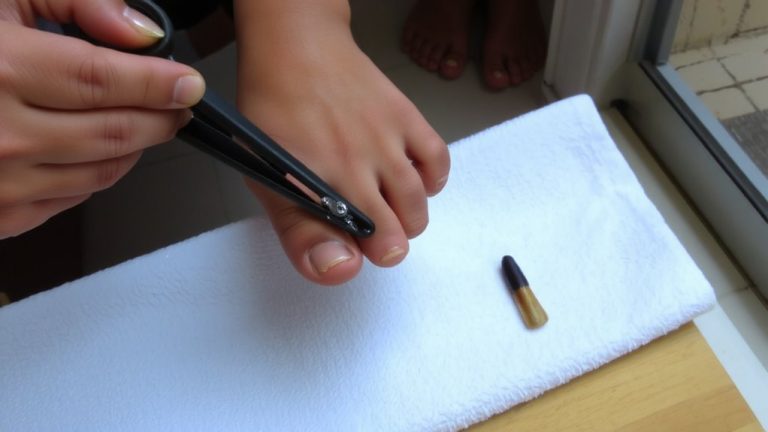
Prep Nails and Moisturize Cuticles First
Starting with well-groomed nails makes all the difference, and prepping your cuticles is where that flawless look begins. You’ll want to gently push back cuticles with a wooden stick or metal pusher, then trim any loose skin with clean nippers-this creates a tidy nail bed ideal for sharp photos. Dry, peeling cuticles distract from even the best nail art, so you’ve got to moisturize cuticles daily. Apply cuticle oil-like one with jojoba or vitamin E-after your top coat dries to avoid smudging. Nightly use improves texture in just a week, testers noticed smoother skin and less flaking in close-ups. Hydrated cuticles reflect light evenly, giving your manicure a polished, professional finish. Regular oiling doesn’t just protect-it enhances visual appeal under natural daylight. For best results, massage in oil for 20 seconds per nail. Well-cared-for cuticles mean your photos look clean, fresh, and camera-ready every time.
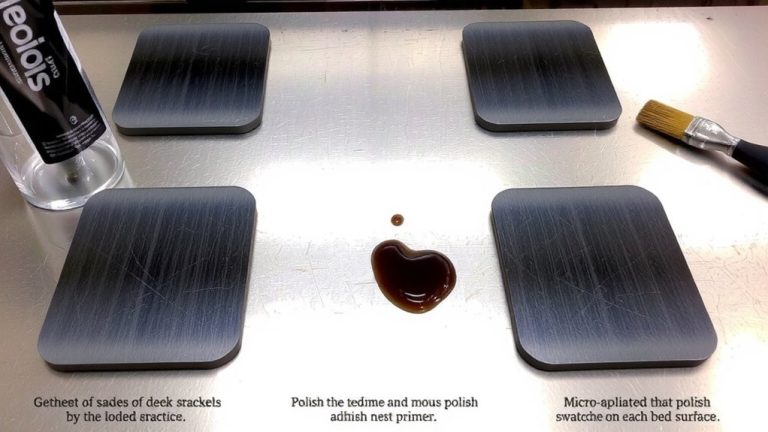
Set Up Your Background and Lighting
Now that your nails are neatly prepped and your cuticles are smooth and hydrated, it’s time to turn your attention to the environment where the photos will happen-lighting and background make or break the final shot. For best results, position yourself near a north-facing window to avoid direct sunlight, which can cause harsh highlights and color shifts in your photos. Shoot between 10 AM and 2 PM, when natural light is brightest and most neutral. Use a white foam board or plain white paper as a background to keep tones accurate and reflections clean. Place a secondary reflector, like a white sheet or another foam board, opposite the window to bounce light and reduce shadows under your fingers. Keep your phone or camera at a 45° angle to the light to maintain detail, guarantee even exposure, and capture true color without glare.
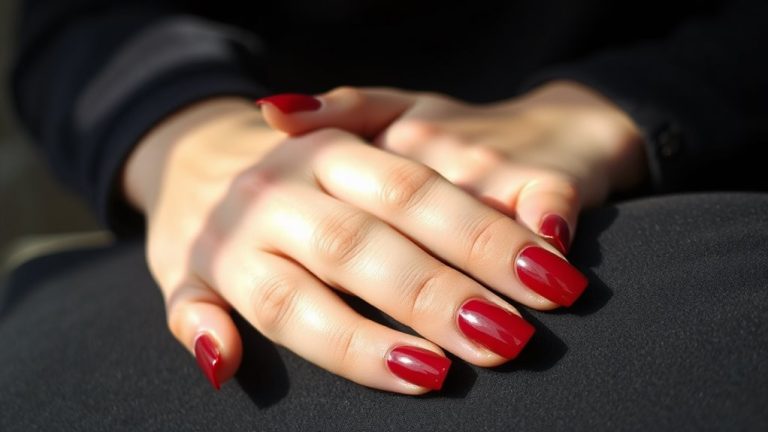
Angle Your Hand to Reduce Glare
A slight tilt of your hand-just 15 to 30 degrees-can make a big difference in how your nail color comes across, especially when you’re working with glossy or gel finishes that reflect light like tiny mirrors. You’ll reduce glare by breaking up direct reflections, avoiding flat-on positioning that causes harsh hotspots and washed-out Nail Photos. Position your hand slightly forward or back, and pair it with a 45° light angle for even, true-to-life results. This small tweak prevents blurry photos and keeps details sharp, so your nail art or polish shade stays crisp and accurate.
| Emotion | Result |
|---|---|
| Frustration | Glare hides color, ruins shots |
| Satisfaction | Shine balanced, color clear |
| Confidence | Nail Photos look pro, never blurry |
Shoot in Natural Light for True Color
You’ve already seen how angling your hand can cut glare and sharpen details, and now it’s time to get the color just right-nail polish looks totally different under various lights, so shooting in natural light is your best move for accuracy. Position yourself near a window with indirect daylight, avoiding direct sun that causes harsh hotspots and overexposure. Turn off overhead lights to prevent mixed color temperatures that skew hues. A north-facing window works best, offering consistent, soft illumination all day. If you’re outside, stay in the shade to maintain even lighting. Use a sheet of white paper under your hand-it reflects natural light evenly, boosts clarity, and helps colors appear true. Keep your hand flat on a surface to stay steady, and shoot mid-morning to mid-afternoon when daylight is most balanced. This simple setup guarantees polish shades look exactly as they should-no filters needed.
Capture Crisp, High-Res Nail Photos
When you’re aiming for sharp, detailed nail photos that highlight every stroke of polish and the true depth of color, using a Canon EOS Rebel T7i with a 50mm lens or the latest iPhone 15 makes a real difference-these tools deliver high-resolution images with crisp detail, minimal noise, and accurate color reproduction. Shoot in natural daylight, placing hands on a white paper background to avoid color casts and keep focus tight on the nails. Use manual focus or tap to focus on your phone, avoiding digital zoom, a common mistake that ruins clarity. Skip the top coat before shooting to reduce glare, and always submit original images over 1 MB for best results. These high-res shots look polished and professional, especially on social media, where quality matters. With the right setup, your nail photos will stand out, capturing true texture and color without filters or edits.
On a final note
Position your hand at a 45-degree angle by a north-facing window for even, soft light, reducing glare on glossy finishes. Prep nails with cuticle oil, let absorb for five minutes, then photograph at 12 p.m. using your phone’s rear camera at 12-megapixel resolution. Keep background neutral-white marble or matte slate works. Tap to focus, zoom 2x max, and snap three quick shots, selecting the sharpest.