Recognizing Early Warning Signs of Onycholysis in Enhanced Nails
You might notice a small gap at your acrylic’s tip, the first sign of onycholysis. Watch for color changes-white, yellow, or green-indicating trapped moisture or infection. Sensitivity or a clicking sound when tapping means lifting’s underway. Long extensions, over-filing, or uncured gel can worsen it. Catch it early, stop wearing enhancements, and keep nails dry. There’s more to keeping your natural nails strong and infection-free just ahead.
We are supported by our audience. When you purchase through links on our site, we may earn an affiliate commission, at no extra cost for you. Learn more. Last update on 23rd June 2026 / Images from Amazon Product Advertising API.
Notable Insights
- A small gap between the acrylic tip and natural nail may signal early onycholysis.
- Discoloration like white, yellow, or green under the nail suggests infection or moisture buildup.
- Clicking sounds or sensitivity when touching the nail hint at detachment from the bed.
- Over-filing or cuticle damage during application increases lifting and separation risk.
- Moisture accumulation under lifted edges can worsen separation and encourage fungal growth.
What Is Onycholysis in Enhanced Nails?
Think of your enhanced nails as a protective shell, bonded to your natural nail to add strength and style-but when that bond starts to fail, you’re likely seeing the early signs of onycholysis. This condition involves the separation of the nail plate from the nail bed, often beginning at the tip and moving backward. With enhanced nails, the artificial nail creates a gap where moisture accumulation can occur, boosting the risk of fungal infections. Mechanical stress from long extensions or poor application at a nail salon can lift the nail plate, breaking the seal. Aggressive filing or chemical irritation from uncured gel, primer, or leaking monomers damages the hyponychium, worsening separation. Once the bond fails, reattachment is unlikely without professional correction.
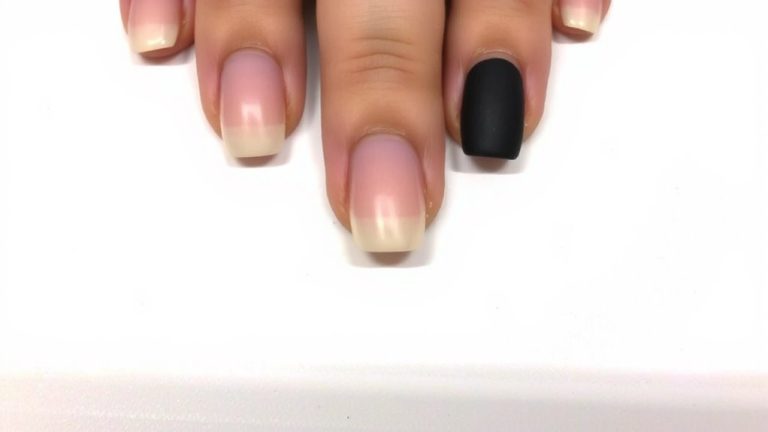
Early Signs of Nail Separation With Acrylics
A small gap at the tip of your acrylic nail might seem harmless, but it’s often the first red flag of nail separation. That space signals nail lifting, usually from improper adhesion due to moisture or oil left on the natural nail. You might notice a nail color change-white, yellow, or green-under the acrylic, a warning sign of trapped bacteria or possible fungal infections. Increased nail sensitivity or a clicking sound when tapping means the acrylic is detaching. Onycholysis risk rises if your tech over-filed your nail surface or caused cuticle damage, weakening the seal to the nail bed. Once separation starts, moisture sneaks in, worsening lifting. With acrylic nails, early detection is key. Watch for these signs daily, and don’t wait-early action prevents deeper damage and keeps your natural nails healthier longer.
How Artificial Nails Cause Onycholysis
Artificial nails can cause onycholysis in several preventable ways, and understanding the mechanics behind it helps you make smarter choices. If your artificial nails have a deeper ‘c’ curve than your natural nail, they create mechanical lifting as they revert to their form, stressing the nail bed and leading to nail plate separation. Long nail enhancements act as levers, increasing pressure on the distal nail bed and causing repeated microtrauma that promotes onycholysis. During UV curing, a heat spike from exothermic reactions can burn the nail bed, triggering keratinization and separation. Aggressive filing or application disrupts the hyponychium seal, while poor bonding allows moisture accumulation underneath. These gaps foster pathogens and worsen nail enhancements failure. Moisture buildup, combined with structural flaws, accelerates onycholysis. You can reduce risks by choosing proper fit, technique, and monitoring UV curing times closely.
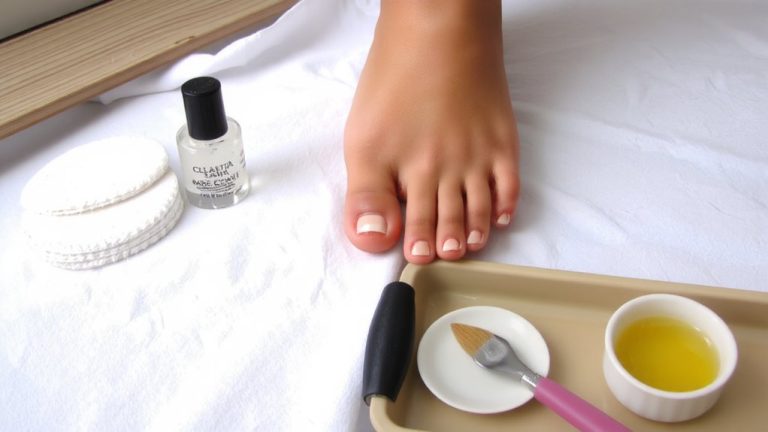
What to Do at Home for Lifting Nails
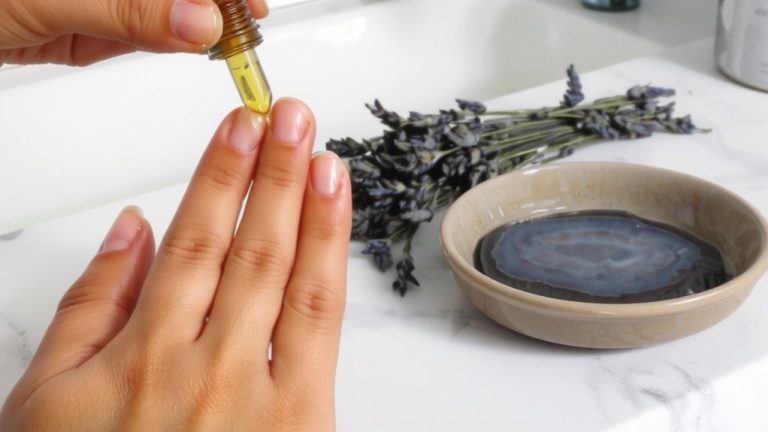
Once you notice your nail lifting, especially after wearing artificial enhancements, your next steps at home can make a big difference in how quickly and fully your natural nail recovers. Immediately remove all nail enhancements and coatings so you can properly assess the area when the nail separates. Gently wash the affected nail with soap and water, then dry thoroughly to clean underneath and keep the nail bed underneath free of moisture that promotes infections. Avoid acetone-based nail polish remover and don’t reapply gel polish or fake nails-these irritants delay healing. Apply a nourishing nail and cuticle oil 4–5 times daily under the free edge to boost flexibility and encourage reattachment. Keep a close eye out for yellow or green discoloration, which could signal a fungal nail. Good care now prevents complications later.
When to See a Doctor for Nail Separation
If you notice signs of infection like redness, swelling, pus, or throbbing pain around the lifted nail, it’s time to see a doctor-these aren’t just warning flags, they’re clear signals that bacteria or fungi may be taking hold and need prescription treatment. You should also see a doctor if nail separation spreads to multiple nails or you spot rapid discoloration under the nail, especially green, black, or purple tones suggesting a secondary infection. Persistent onycholysis lasting over 6–8 weeks needs a dermatology visit to rule out an underlying cause like psoriasis or onychomycosis. If you have diabetes or a compromised immune system, don’t wait-early care prevents complications. Systemic diseases like hyperthyroidism can also trigger this, so talk to a healthcare professional if you have fatigue or weight changes.
On a final note
You can spot early onycholysis by checking for slight lifting at the nail tip, usually 2–3 mm, often near the free edge where acrylics meet natural nail. Discoloration-yellow or white patches-may follow. Stop filing aggressively and skip cuticle trimmers around lifted areas. At home, keep nails dry, use tea tree oil (1 drop, twice daily), and wear gloves during chores. If pain or spreading occurs, see a dermatologist fast.