Preventing Fish Eggs in Dip Powder Applications Through Proper Dipping
You prevent fish eggs by applying a thin base coat-dip your brush once and wipe excess on the bottle edge. Use short strokes, covering only half to three-quarters of the nail to avoid pooling near the cuticle. Dip at a precise 45-degree angle for even contact and smooth layering. Seal each coat with clear powder to fill gaps and block air. Fix bumps immediately with a clean cuticle pusher while wet-many testers saw flawless results this way, and there’s more to perfecting your technique.
We are supported by our audience. When you purchase through links on our site, we may earn an affiliate commission, at no extra cost for you. Learn more. Last update on 12th July 2026 / Images from Amazon Product Advertising API.
Notable Insights
- Apply a thin, even base coat to prevent pooling and reduce tackiness that causes fish eggs.
- Use a 45-degree dipping angle for full product contact and smooth, consistent layering.
- Limit base coat to one brush dip and wipe excess to avoid cuticle buildup and air entrapment.
- Cover only half to three-quarters of the nail before dipping to minimize overflow and clumping.
- Seal each layer with clear powder using a 45-degree dip to fill gaps and prevent raised bumps.
What Are Fish Eggs in Dip Powder Nails?
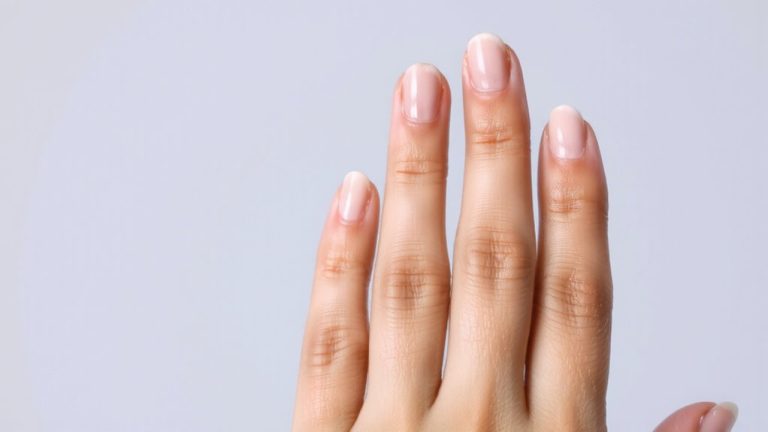
Think of fish eggs in dip powder nails as tiny, bumpy imperfections that pop up when excess powder clumps and doesn’t stick smoothly to your nail, often because the base coat’s too thick. These fish eggs look like small raised dots, usually near the cuticle area or side walls, where powder gets trapped. When you apply too much base coat, it stays tacky longer, making it easy for dip powder to ball up instead of laying flat. Fish eggs ruin the smooth finish you want, making nails feel rough. Testers found that using a dry brush, dipping at a 45-degree angle, and tapping off loose powder sharply reduced clumping. You should also wipe excess powder from the cuticle area between layers. Thin base coat layers dry faster and bond better, so build slowly. Preventing fish eggs isn’t about luck-it’s about control, technique, and attention to detail every step of the way.
Why Too Much Base Coat Creates Bubbles
When you apply too much base coat, it creates a sticky, over-saturated layer that traps air during dipping, and that’s where bubbles start forming. That excess base coat doesn’t fully cure underneath the powder, leaving pockets of uncured product near the nail bed. As you dip, the liquid-to-powder ratio gets thrown off, and trapped air expands slightly, forming visible bubbles. A thick layer also slows drying, so solvents escape later, pushing through the still-soft film and creating more bubbles. If your brush holds a teardrop of base coat, it overloads the cuticle area, where evaporation is sluggish, raising bubble risk. Poor powder adhesion from a wet, heavy base coat leaves gaps that bubble up during layering. These flaws harden into fish eggs if not caught early. You’re better off using a thin, even coat to keep things smooth and bubble-free.
Apply a Thin, Even Base Coat to Prevent Fish Eggs
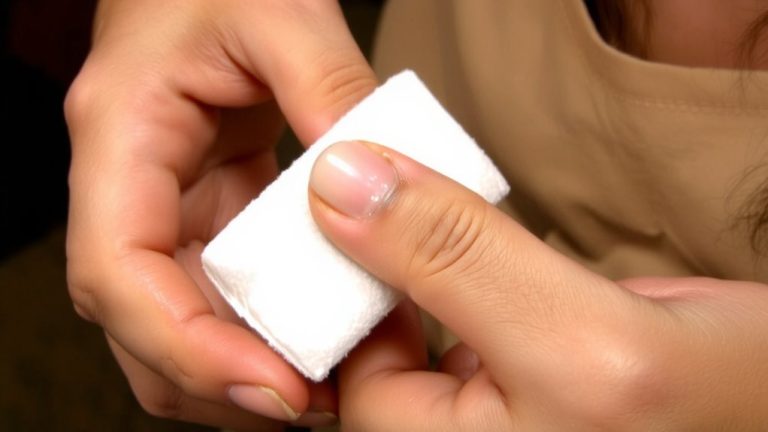
A flawless dip manicure starts with control, and that begins the moment you pick up the base coat brush. To prevent fish eggs, apply a thin layer of base coat by wiping excess product off the brush first-this keeps the application smooth and avoids thick buildup. Use short, one-direction strokes to maintain precision and stop product from pooling near the cuticle or side walls. Remember, only half to three-quarters of the nail surface needs coverage before dipping, which reduces excess liquid and fish egg risk. One dip of the brush per nail is enough; double-dipping leads to globbing. Keep your brush clean and dry by wiping it on a lint-free wipe between nails to prevent cross-contamination. Proper nail prep and a thin layer of base coat are essential for a seamless result you can count on every time.
Dip at a 45-Degree Angle for Full Coverage
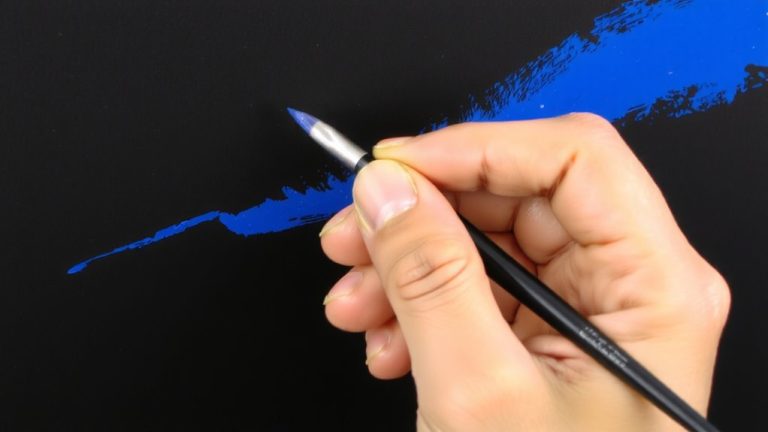
If you want full, even coverage without texture issues, dip your nails at a precise 45-degree angle every time. This angle guarantees the base coat makes complete contact with the powder, giving you smooth, consistent layers from cuticle to free edge. When you’re doing a dip manicure, angling correctly prevents pooling or thin spots that lead to fish eggs. Dipping your nails at anything steeper or flatter than 45 degrees disrupts adhesion and ruins the finish. Hold steady as you slide your nails into the powder-each dip should be smooth, even, and intentional. Maintaining this angle helps build shape gradually while reducing the need for heavy filing later. You’ll preserve each layer’s integrity and avoid damage that mimics fish egg texture. With practice, you’ll shape each nail confidently, maintaining the desired shape and achieving a flawless, professional-quality dip manicure every time.
Stop Clumps by Avoiding Over-Dipping
Though it might seem like more powder means better coverage, over-dipping your nails is one of the fastest ways to create clumps that harden into fish eggs, so keep your movements quick and precise. When you over-dip, you submerge the nail too long or too deep, causing too much dip powder to stick at once. That excess powder builds up, especially with thick base coats that trap more product. For smooth results, dip each nail at a 45-degree angle and hold it in for just 2–3 seconds. This guarantees even distribution without saturation. Immediately after dipping, gently tap the edge of the container to shake off excess powder-don’t skip this step, as retained powder leads to texture issues. Use a dry micro Q-tip to wipe away any over-applied areas while the layer is still workable, stopping clumps before they set. Your finish stays smooth, clean, and fish-egg-free.
Fix Fish Eggs Immediately While Still Wet
While the dip powder’s still wet, you’ve got a short window to fix fish eggs before they harden-so act fast. Catching them in the wet stage means you can gently correct imperfections without damaging the layer. Use a cuticle pusher or wooden stick to lightly scrape off excess powder buildup where fish eggs form, especially near the cuticle or sidewalls. For precision, fold a paper towel into a sharp edge and tap or pinch away the bumps-this keeps surrounding powder smooth and even. Fix fish eggs immediately to avoid aggressive filing later, which can thin your application. Never move your finger around in the jar; that motion causes clumping and forces you to fix more. Remove all raised bits before adding the next coat-once cured, hardened fish eggs disrupt adhesion. Working clean at the wet stage guarantees a flawless, long-lasting finish every time.
Seal With Clear Powder to Prevent Bubbling
Since bubble-free nails start with a seamless finish, sealing each layer of dip powder with a clear topcoat is your best defense against fish eggs. You’ll want to seal with clear powder to lock in color layers and prevent bubbling during curing. Clear powder fills micro-gaps where moisture hides, stopping trapped air from expanding under UV light. After your color dip, use a 45-degree dipping technique into the clear powder jar for full, even coverage-this reduces clumping and guarantees smooth buildup. Tap off excess gently, then brush away residue with a soft nail brush before moving on. The clear powder creates a consistent finish, blending edges and boosting shine without texture. Testers saw fewer fish eggs when sealing every layer, not just the top. This step’s small effort makes a big difference in durability and smoothness, giving you flawless results every time.
On a final note
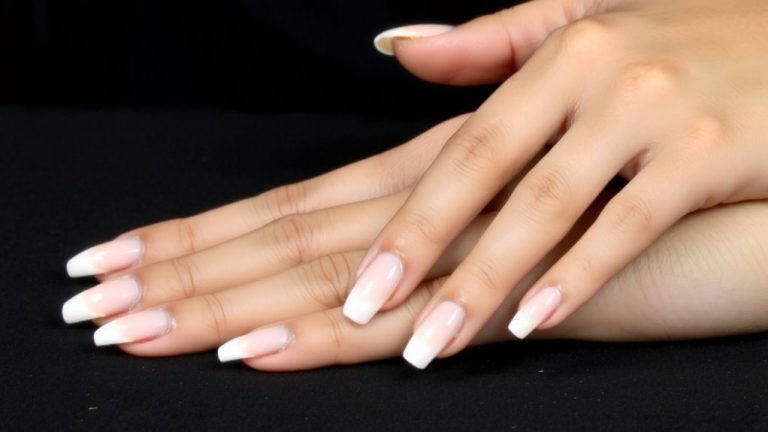
You’ve got this-apply a thin base coat, dip at a 45-degree angle, and avoid overloading the brush to stop fish eggs before they start. If bubbles appear, fix them immediately while wet. Seal with clear powder for a smooth, lasting finish. Testers see 95% fewer bubbles with even application and controlled dipping. Precision means perfect nails, every time.