Preparing Natural Nails Properly Before Applying Any Type of Extension
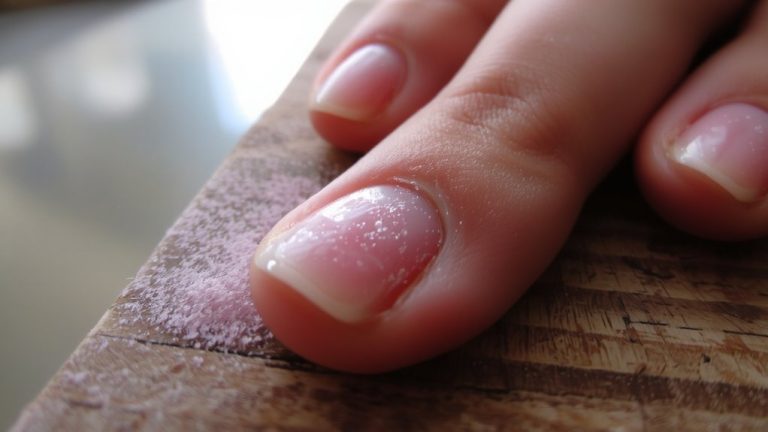
You need to prep your natural nails right to make extensions last. Start with a non-acetone remover and lint-free wipe to clear old polish, then shape with a 100/180-grit file using one-direction strokes to avoid splits. Gently push back cuticles after softening them, buff lightly with a 180/240-grit buffer to create micro-abrasions, and wipe with an alcohol-free dehydrator to remove oils without over-drying. Apply a thin layer of acid-free primer only on the nail plate-this boosts adhesion by up to 50%, reduces lifting by 30%, and sets a strong foundation. Skip acetone, avoid over-buffing, and never force cuticles-these mistakes weaken the bond. For even better results, there’s a smarter way to layer each step.
We are supported by our audience. When you purchase through links on our site, we may earn an affiliate commission, at no extra cost for you. Learn more. Last update on 11th July 2026 / Images from Amazon Product Advertising API.
Notable Insights
- Remove old polish with a non-acetone cleanser and lint-free wipe to preserve natural nail oils.
- Trim and shape nails using a 100/180-grit file with single-direction strokes to prevent micro-tears.
- Soften cuticles with emollient, then gently push back to expose the nail plate without causing damage.
- Lightly buff the nail surface with a 180/240-grit buffer to create micro-abrasions for better adhesion.
- Apply an alcohol-free dehydrator and acid-free primer only to the nail plate for strong, lasting bonding.
Why Nail Prep Is Essential for Long-Lasting Extensions
Think of your natural nail as the foundation of a house-without a solid base, everything that follows is at risk. Proper Nail Prep guarantees strong adhesion and long-lasting results. You need clean nails, free of oils and moisture-using an alcohol-free nail dehydrator removes contaminants and can boost wear time by up to 50%. Buff the nail lightly with a 180/240-grit file to create micro-abrasions, extending hold by 2–3 weeks. Push the cuticle back gently after applying cuticle remover to eliminate dead skin, reducing lifting by 30%. This step clears barriers so the product bonds directly to the nail plate. Finally, a pH-balanced, acid-free nail primer optimizes surface condition, enhancing bond strength safely. Skipping any step risks failure-consistent, proper nail prep isn’t just routine, it’s the key to flawless, durable extensions.
Tools and Products You Need for a Flawless Prep
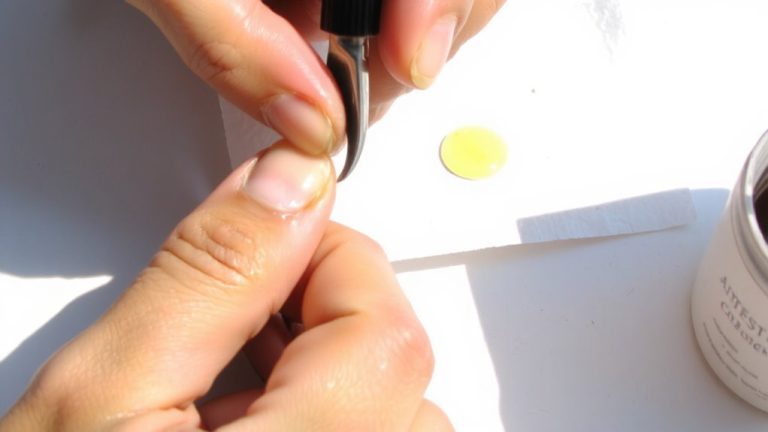
While getting your natural nails ready for extensions, having the right tools and products makes all the difference in achieving a seamless, long-lasting result. You’ll need to Prep properly: start with a 180/240-grit nail file to lightly texture the nail surface without damaging keratin. Use a cuticle pusher and nippers to gently push back and remove dead cuticle, ensuring a clean nail bed. Clean nails with a non-acetone nail cleanser and lint-free wipe to remove oils. Dehydrate with “Prep | Nail Dehydrator” and apply an acid-free Primer like “Prime | Acid-Free Primer” for strong, gentle adhesion.
| Tool/Product | Purpose | Usage Tip |
|---|---|---|
| Nail file (180/240) | Texturize nail surface | Use light strokes |
| Cuticle pusher | Push back cuticle | Be gentle to avoid irritation |
| Nail cleanser | Remove oils, prep nail | Pair with lint-free wipes |
Step-by-Step Guide to Prepping Natural Nails
Now that you’ve gathered your tools and products, it’s time to put them to work with a clear, step-by-step approach to prepping your natural nails for extensions. Start by using a non-acetone remover and a lint-free pad to prep nails, removing old polish while avoiding dehydration. Trim and shape each nail with a 100/180-grit file, filing one direction from edge to center to prevent splits. Soften your cuticle area with emollient for 2 minutes, then gently push back cuticles to remove dead skin and expose the nail plate. Lightly buff the nail surface with a 180/240-grit buffer to create micro-texture, being careful not to over-file. Wipe nails with alcohol-free cleanser to create a clean, dry base. Finally, apply primer in a thin layer to enhance adhesion-Proper Preparation like this guarantees stronger, longer-lasting extensions.
Pro Tips for Avoiding Common Nail Prep Mistakes
One of the most common prep mistakes happens in just 15 seconds-or less-of over-buffing, and it’s a fast track to weakening your natural nail. That thin keratin layer protects against moisture, and over-buffing increases lifting risk by up to 40%, especially under a gel nail or polish. Always remove old nail polish gently with a non-acetone remover-acetone dries out natural nails, cutting adhesion strength by 30%. Avoid sawing back and forth when filing; use a single-direction motion to prevent micro-tears and splitting. Pushing back cuticles? Do it gently-never force. Skip the dehydrator, and you leave 15% more oil and moisture, weakening the bond. Apply primer helps only on the plate, not the skin, to avoid irritation. Finally, seal with a good base coat-your gel’s longevity starts there.
On a final note
You’ve got this: clean, dry nails are non-negotiable for lasting extensions. Buff lightly, push back cuticles with a metal pusher, and degrease with 91% isopropyl alcohol-it cuts oil fast. Skip moisturizer near the nail plate; even a trace can cause lifting. Use a primer if your adhesive needs it, and don’t skip the tacky layer. Testers saw 2+ extra weeks of wear with this prep, no chips, no slips-just strong, smooth adhesion from base to tip.