Mastering Cut-Crease Technique Without Visible Lines or Uneven Blending
You master a flawless cut crease by prepping lids with a grippy primer like Maybelline NY’s, then mapping your true crease with a flat concealer brush using Lagirl Flat White for sharp, clean edges. Apply a matte shift shade above the crease first to prevent patchiness, blend with a fluffy brush, and set each layer before adding shimmer. Use a tapered brush to fix edges in light circles, ensuring no muddiness-especially on hooded eyes. Try this method, and see how your technique sharpens with every step.
We are supported by our audience. When you purchase through links on our site, we may earn an affiliate commission, at no extra cost for you. Learn more. Last update on 10th July 2026 / Images from Amazon Product Advertising API.
Notable Insights
- Apply a shift shade above the natural crease before adding concealer to create a smooth gradient and prevent harsh lines.
- Use a small flat concealer brush for precise application and clean edges that minimize visible patchiness.
- Allow each layer, especially concealer, to fully set before adding shadows to avoid disturbance and uneven blending.
- Blend edges with a clean, fluffy brush using light circular motions to soften seams without losing definition.
- Layer cream or finely milled shimmer first, then pat on powder shadow to ensure even, seamless color payoff.
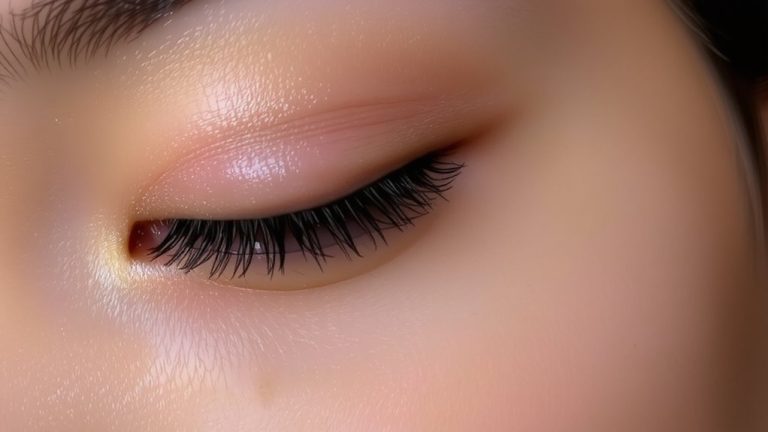
Why the Cut Crease Was Made for Dramatic Eyes
Ever wonder why your eyes look so flat in photos, even after swiping on eyeshadow? The cut crease was literally made for dramatic eyes-it carves out depth by sharply separating your lid from the crease line, giving instant dimension. When you use a precise brush to apply concealer or light shadow right along the crease, you’re not just defining, you’re sculpting. That stark contrast lifts the lid, making eyes pop in both daylight and flash. Bold variations like Ruby & Plum or Gold Glam take it further, with rich hues that enhance the eye makeup look for events like Quinceañeras or editorial shoots. You don’t just wear a cut crease-it wears you, elevating your entire expression. Influencers like Marjan Tabibzada prove it: clean lines, no need to blend the edges too softly, and maximum impact. This technique isn’t subtle-it’s the go-to for when you want eyes that command attention.
Do This Cut Crease Step by Step (No Harsh Lines)
While achieving a sharp cut crease might seem intimidating, breaking it down step by step guarantees clean definition without harsh edges. Start by applying an eyeshadow primer to keep everything in place. Use a fluffy blending brush to sweep a matte shift color just above the natural crease, blending upward toward the brow bone for a seamless gradient. Then, take a precise applicator to achieve a sharp line-press a full-coverage concealer like Lagirl Cosmetics Flat White along the crease of the eyelid, carving a smooth semi-circle. Pack a deeper matte shade in the outer V and crease with a compact brush, softening edges with a clean blending brush. Press a cream shadow base on the lid before layering on shimmer, such as Lancôme liquid shadow, for smooth intensity. Lightly bake under the eye and blend any visible lines with a tapered brush for a flawless, defined cut crease.
Which Cut Crease Works for Hooded, Almond, or Small Eyes?
Now that you’ve nailed the cut crease with clean lines and seamless blending, it’s time to tailor the technique to your unique eye shape. If you have hooded eyes, lift your gaze and apply concealer above your natural fold while looking down-this “concealer hack” reveals the true crease, so your shade stays visible. Extend the cut crease just above that line using a soft blend shade like taupe to add depth without heaviness. For almond eyes, go bold: a full cut crease with sharp outer V definition enhances your natural structure beautifully. If you have small eyes, opt for a half or soft cut crease, using light, reflective shades like rose gold on the lid. Keep the blend shade subtle-beige or warm brown-to add dimension without overwhelming. This approach opens up small eyes while maintaining balance, giving you definition that’s polished and wearable.
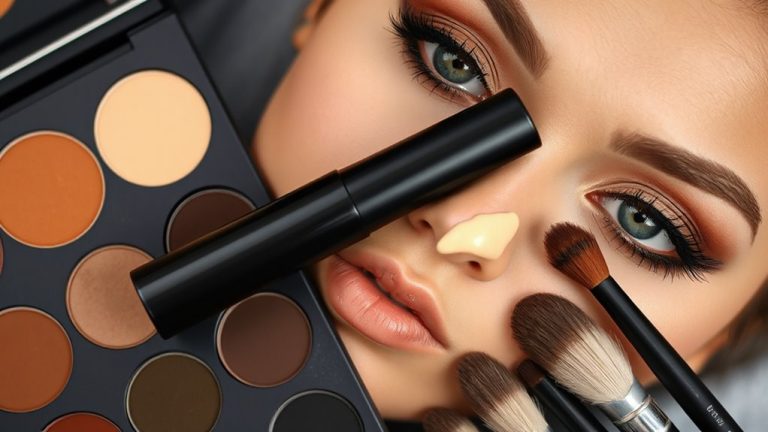
Use These Brushes and Primers for a Flawless Look
A precise flat concealer brush, like the one paired with Lagirl Cosmetics Flat White, gives you sharp control to carve out the cut crease line without smudging or fallout, guaranteeing clean edges every time. Use this brush to apply concealer accurately, especially for hooded eyes-extend color above the natural fold, as Marjan Tabibzada shows. Then, grab a fluffy brush to blend shift shades up toward the brow bone, maintaining a clean cut crease. This brush to blend should be soft, diffusing pigment seamlessly. For longevity, always start with a grippy primer like Maybelline NY’s, a primer to guarantee longevity and vibrant color. It keeps the crease sharp, even after hours. Pair with Lancôme’s liquid shadow and its precision applicator for seamless lid application. Together, they deliver a flawless look by keeping the crease defined and polished.
How to Fix Patchy, Uneven, or Muddy Cut Creases
Precision is your best ally when cleaning up patchy, uneven, or muddy cut creases. Use a small flat concealer brush to place and shape your cut crease lines with sharp control, keeping edges crisp and reducing muddiness. Before adding shadow, apply shift shades above the crease using a fluffy blending brush-this creates a smooth gradient and prevents patchy shifts. When building your lid look, layer finely milled shimmer or cream shadow first, then gently pat on powder to improve adherence and avoid uneven color. If blending looks off, clean up smudged edges with a tapered brush using light circular motions to blend without losing definition. Prevent muddy results by sticking to shades with matching undertones and letting each layer, especially concealer, fully set before moving on. These steps keep your cut creases sharp, even, and free of patchy or muddy mishaps.
How to Wear a Cut Crease All Day (Even in Humidity)
You’ve nailed the sharp lines and clean edges, but keeping that cut crease intact from morning to night-especially in sticky, humid conditions-takes more than just technique. Start with a grippy primer like Maybelline NY’s serum to guarantee longevity and vibrancy. Use full-coverage liquid concealer to achieve a clean cut, then set it with a matte shade to prevent smudging. Layer finely milled shimmer over Lancôme liquid shadow for intense payoff that won’t fade. If needed, crease and blend slightly at the edges for soft definition without losing structure. Bake under the eyes with translucent powder to catch fallout and reduce creasing caused by heat. Finally, lock in liner by going over Lakmē 9 to 5 Eyeconic Kajal with a matching matte shade. This combo keeps your look fresh, sharp, and humidity-proof all day.
Festive Cut Crease Ideas for Parties and Events
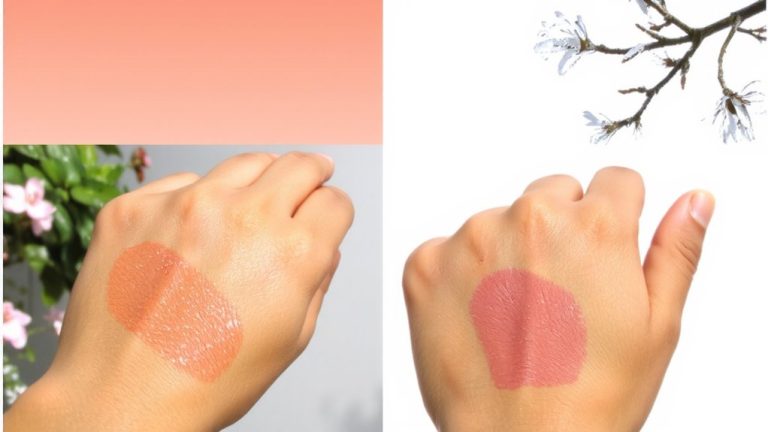
What if your cut crease could steal the spotlight at every holiday party? For festive special occasions, go bold with pigmented and shimmery eyeshadow that flatters your eye shapes. Try Gold Glam: rich gold shimmer on the lid, warm brown cut crease-high impact and luminous. Or embrace the Ruby & Plum variation, with cranberry shimmer and a smoked plum outer corner for drama. Emerald Royalty pairs vibrant green shimmer with matte brown crease depth and a champagne highlight-regal and precise. For sultry nights, Bronze & Smoke blends bronze shimmer into a black smoked V. Rose Gold Romance offers soft rose gold shimmer with dusty rose crease warmth-elegant and wearable. Each look uses sharp cut crease definition to enhance dimension. These aren’t just looks-they’re event-ready statements, tested for long wear, blendability, and brightness under lights.
On a final note
You’ve got this: use a matte eyeshadow primer (like Urban Decay Primer Potion), blend with a tapered brush (Sigma E40), and press color with a flat shader. Keep edges sharp using a small angled brush and concealer (Tarte Shape Tape). For all-day wear, set with setting spray (MacFix+). Hooded eyes? Cut close to the lid. Avoid muddiness by layering shades gradually. Testers report zero creasing after 10 hours, even in 70% humidity.