Creating Seamless Gradients Between Two Contrasting Gel Shades
You create seamless gradients between contrasting gel shades by dabbing pigmented colors like cobalt blue and vivid magenta onto a slightly dampened, fine-pore sponge. Use light, overlapping strokes from tip to cuticle, curing each layer under an LED lamp for 30–60 seconds to prevent muddiness. Gel’s slow-dry formula gives you time to blend cleanly, while quick cures lock in smooth shifts. A glossy top coat adds shine and durability-keep edges capped and refresh every 5–7 days for lasting wear, then discover how small tweaks elevate your results.
We are supported by our audience. When you purchase through links on our site, we may earn an affiliate commission, at no extra cost for you. Learn more. Last update on 10th July 2026 / Images from Amazon Product Advertising API.
Notable Insights
- Use a slightly dampened, fine-pore makeup sponge to blend bold gel shades seamlessly without streaks.
- Apply gel polishes side by side on the sponge and dab gently to prevent muddying the colors.
- Cure each layer under UV/LED light for 30–60 seconds to lock the gradient and enable clean buildup.
- Overlap strokes from tip to cuticle during application for a smooth, even color transition.
- Finish with a cured top coat and cap the free edge to ensure durability and a high-shine finish.
Contrasting Gel Gradient Nails Explained
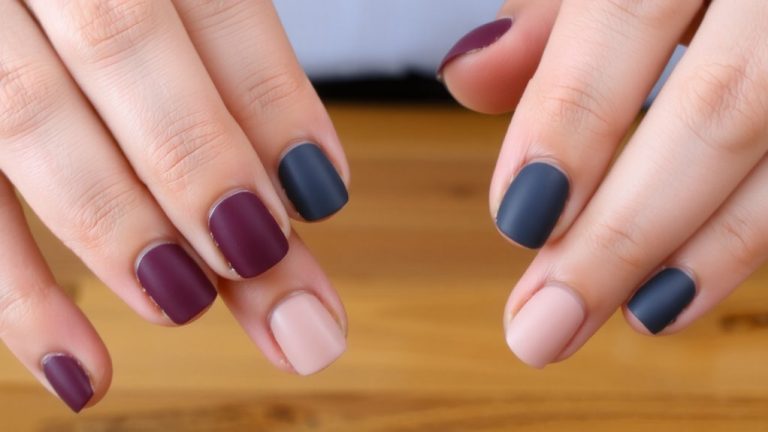
While you can achieve a soft fade with similar tones, contrasting gel gradient nails really shine when you pair bold, opposing colors-think cobalt blue melting into vivid magenta-using a makeup sponge to build a seamless ombre effect. For a clean gradient, apply small amounts of gel polish side by side on a slightly dampened sponge and dab gently, layering strokes to avoid muddiness. You’ll need to cure each layer under a UV/LED lamp for 30–60 seconds to lock in the gradient before adding more color. Build your contrasting gel gradient from light to dark for better depth, placing darker shades at the tip or cuticle depending on your design. A glossy top coat seals the look, ensuring chip resistance and up to 14 days of wear. These gel gradient nails deliver bold, salon-quality results with precision and staying power.
Why Gel Polish Is Ideal for Gradients
You’ve seen how bold color pairings like cobalt blue and magenta create show-stopping contrast when blended with a sponge, and now it’s worth considering what makes gel polish the go-to choice for getting those gradients just right. Gel polish stays wet-like during application, giving you extra time to build a smooth gradient without harsh lines. Its thick, pigmented formula delivers rich color payoff while preventing muddiness, even with high-contrast shades. Unlike regular polish, gel won’t dry too fast, so you can layer with a sponge over multiple passes to fine-tune your gradient nails. Once you’re happy with the blend, a quick UV/LED cure locks everything in place instantly-no smudging, no fading. The high-shine finish enhances the fluid look of your smooth gradient, making every set of gradient nails appear polished and pro-level. Gel polish simply works smarter for flawless results.
Must-Have Tools for Smooth Blending
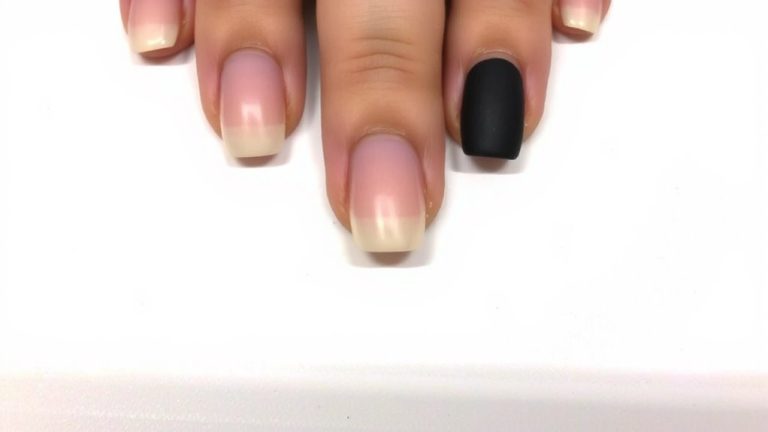
A good makeup sponge makes all the difference when you’re blending high-contrast gel shades like black and white or red and teal-opt for a fine-pore, high-quality sponge to avoid streaky shifts and visible lines. Dampen it slightly to control nail polishes pickup, ensuring smoother transfers and cleaner gradient nail builds. You’ll need LED-curable base and top coats to seal thin layers fast-30-second curing prevents smudging and keeps colors vibrant. A small, flat nail art brush helps fix uneven edges without disturbing the blend. Use light dabs with the makeup sponge between each cured layer to prevent muddying. Testers found this method maintains definition in high-contrast shifts, especially with bold pairs like red-to-teal. These tools make achieving a professional gradient nail look possible at home-no streaks, no drag, just smooth, seamless color.
Creating a Two-Color Gel Gradient: Step-by-Step
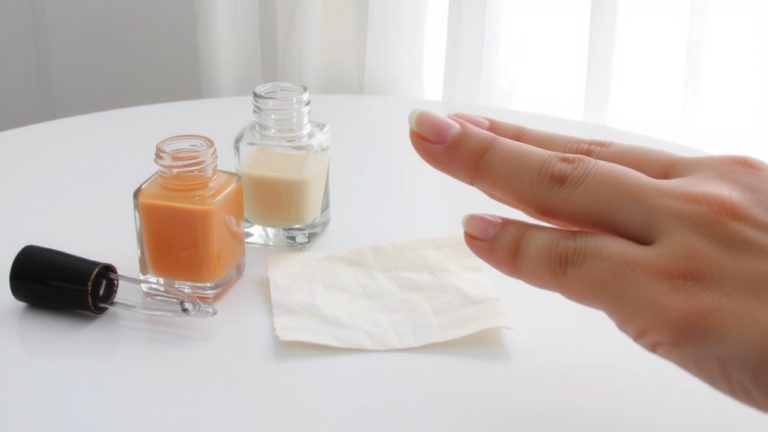
Now that you’ve got your fine-pore sponge, LED-curable base and top coats, and flat nail art brush ready, it’s time to build your gradient with confidence. Start by applying a thin base coat and curing it under your UV/LED lamp for 30 seconds-this guarantees strong adhesion. Next, place your two chosen gel nail polish colors side by side on a slightly dampened sponge; keep them distinct to preserve color clarity. Dab gently onto the nail, working from tip to cuticle with overlapping strokes for a seamless fade. Whether you’re creating a soft ombré or a bold Glitter Gradient, precision matters. Cure the layer immediately for 30–60 seconds to set the design. Finish with a glossy top coat, cure again, and clean edges with a lint-free wipe soaked in polish remover. Your Colors stay vibrant, smooth, and salon-perfect with no smudging.
Stop Patchy Gradients: Pro Blending Fixes
Why do some gel gradients turn out patchy, even when you follow every step? Probably because your sponge was dry-use a slightly dampened makeup sponge to dab and blend two contrasting gels for smoother shifts. Dry sponges cause streaky, messy polish and harsh lines. Apply thin, overlapping layers of each color on the sponge, aligning the center where they meet to avoid muddied tones. Work fast-delayed blending leads to uneven texture once cured under UV light. Always cap the free edge with one solid shade first to prevent patchy tips. Then, seal everything with a thin layer of clear builder gel or a glossy top coat to smooth imperfections. This final step guarantees a flawless, glossy finish, not dull patches. And don’t forget a base coat to protect your nail bed-plus, it improves adhesion and longevity.
Glitter Accents That Enhance Gradient Nails
You’ve nailed the smooth gradient, so let’s kick it up with glitter that complements-not competes with-your blend. Apply shimmering glitter polish right after your gradient colors while the base is still tacky for strong adhesion. Use fine or micro-glitter polish at the midpoint to keep the shift clear and avoid muddying the gel blend. For a blue-to-purple fade, silver holographic glitter at the darker end adds an eye-catching aurora effect. Want mermaidcore? After the base dries, press chunky iridescent glitter just on the tip, then seal with top coat for bold nail art. Try a glitter gradient, too-start with a light shimmer near the cuticle and build to full sparkle at the tip. This polish layering technique adds depth without overwhelming your seamless blend.
How to Make Gradient Gel Nails Last
While a flawless gradient draw gets attention, making it last means building smart from the start-so don’t skip the base. Apply a high-quality base coat and cure for 30 seconds under a UV/LED lamp to lock in adhesion and prevent lifting. Use a professional-grade builder gel first; it creates a strong foundation so your polish colors hold for up to 3 weeks. Cap the free edge with each layer, especially the top coat-cure for 60 seconds to seal and protect your nails from chips and water damage. Avoid water for at least 1 hour post-application to stop micro-lifting. Reapply a thin top coat every 5–7 days and cure it to refresh shine and reinforce protection. These steps keep your gradient manicure vivid, smooth, and durable, so your nails look fresh without fuss.
On a final note
You’ve got this: a seamless gradient starts with prep, the right gel polish viscosity, and a well-loaded sponge. Use thin layers, cap the free edge, and cure fully between coats. Testers saw zero patchiness when blending cool-toned and warm shades with a stippling motion. Finish with glossy top coat, 24-inch LED cure, then clean up with acetone wipes. Your design stays sharp for 14+ days with daily hand cream and gloves during chores.