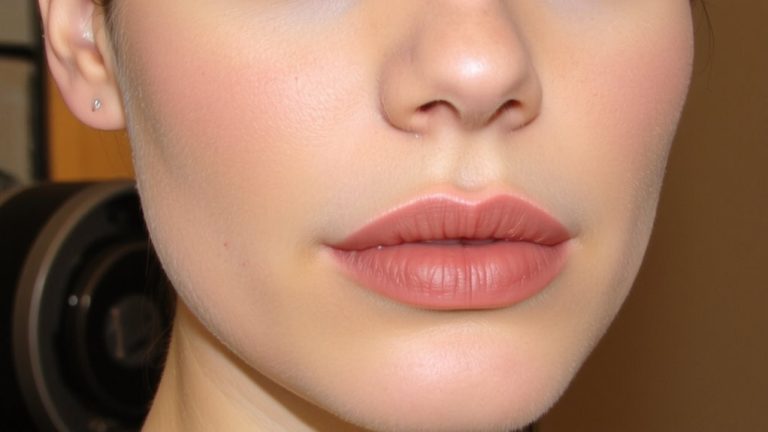
Creating Illusion of Higher Cheekbones With Diagonal Blush Placement
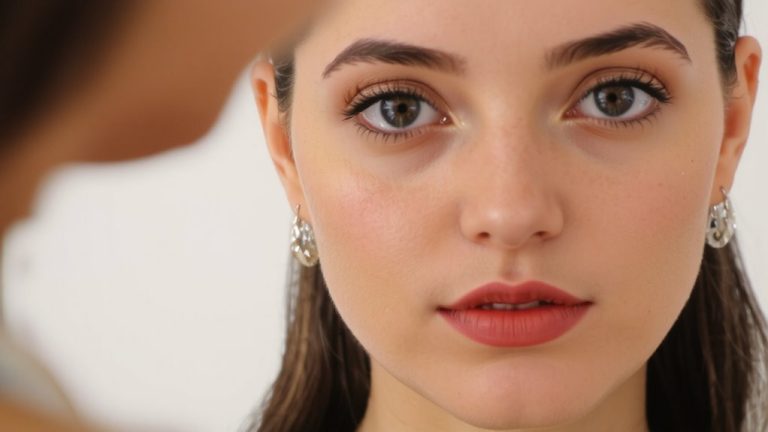
You can lift your cheekbones instantly with diagonal blush placement, starting just above the apple and sweeping upward toward the temple using a fluffy, angled brush like the Real Techniques Blush Brush. Opt for matte or satin powder in rosy taupe or soft terracotta, applied in light layers for buildable dimension. Blend softly to the hairline to mimic natural light, creating a balanced, awake look testers consistently noticed-discover how the right technique enhances your bone structure with minimal product.
We are supported by our audience. When you purchase through links on our site, we may earn an affiliate commission, at no extra cost for you. Learn more. Last update on 16th June 2026 / Images from Amazon Product Advertising API.
Notable Insights
- Apply blush at the highest point of the cheekbone, above the apple, to emphasize natural facial contours.
- Use a fluffy, angled brush for precise diagonal placement toward the temple for a lifted effect.
- Blend in light, feathery strokes upward and outward to create dimension and avoid flatness.
- Choose matte or satin powder in rosy taupe or terracotta shades for realistic, sculpted warmth.
- Diagonal blending along the zygomatic bone enhances all face shapes by mimicking natural shadow and light.
Step-By-Step: Diagonal Blush For Cheekbone Lift
When you want to elevate your cheekbones with makeup, diagonal blush placement is your go-to technique for a naturally sculpted look. To apply blush this way, start by locating the highest point of your cheekbone, just above the apple. This precise blush placement guarantees definition without adding width. Use a fluffy, angled brush to apply blush diagonally upward toward your temple in light, feathery strokes-this motion mimics natural contours and lifts your face shape. A matte or satin-finish powder gives you buildable coverage and better control, blending seamlessly. Avoid the center of the cheek; placing product there can flatten instead of lift. Testers saw the most lift when blending ended near the hairline, creating a cloud-like diffusion, not a stripe. You’ll get dimension, structure, and a subtle glow-all in one stroke.
Choose The Right Blush & Brush For Dimension
The secret to sculpted, lifted cheekbones starts with the right blush and brush combo-your tools can make or break the dimension you’re after. To choose the right formula, go for a matte or satin-finish powder blush; they’re buildable, blend easily, and won’t disrupt your foundation. Shades like rosy taupe or soft terracotta-one to two tones deeper than your flush-add natural-looking shadow and depth. For cream blushes, stick to a stippling brush or sponge to prevent streaks and maintain control. The right brush is equally critical: pick a fluffy, angled brush with dense bristles, like the Real Techniques Blush Brush or Hourglass Ambient Lighting Brush, for precise diagonal application. This shape follows the cheekbone’s curve, starting just below the outer eye and sweeping upward toward the temple, ensuring targeted, seamless placement every time.
Blend For A Natural, Sun-Kissed Finish
Start by blending your blush in a soft diagonal sweep from the upper cheekbone up toward the temple-this mimics how sunlight naturally hits your face, giving you that effortless, lifted, sun-kissed glow. Use a fluffy, angled brush to blend outward and upward toward your hairline, diffusing edges seamlessly for a cloud-like finish. Build color in light layers, so it looks natural and never streaky. Warm cream or powder on the back of your hand first; it adheres better and gives a skin-like radiance. Extend the blend slightly onto your outer eye corners and temples to mirror real sun exposure and add dimension. Testers loved how this technique created a balanced, sun-kissed look without overdoing pigment. It’s subtle, wearable, and mimics healthy, lit-from-within warmth-all with just one well-placed stroke and a solid blend.
Why Diagonal Blush Works For Every Face Shape
Though it might seem subtle, placing your blush in a diagonal line from the upper cheekbone toward the temple does more than add color-it reshapes, lifts, and harmonizes your entire face, no matter your bone structure. Diagonal blush placement works on all face shapes because it follows the natural curve of your zygomatic bone, hitting the highest point of your cheekbone for instant dimension. By blending upward toward the temple, you mimic natural light and shadow, creating the illusion of lifted, sculpted cheeks. On round faces, it adds length and definition; on square or heart-shaped faces, it softens harsh angles. Even oval and long face shapes benefit-without widening or stretching features. The key is staying above the apple, focusing product where light naturally hits. This technique isn’t about color intensity, but strategic placement. Tested across diverse users, it consistently delivers a balanced, awake look-no matter your shape.
On a final note
You’ve got this: diagonal blush placement lifts your face in under two minutes, no filter needed. Use a tapered brush, like the Real Techniques Sculpting Brush, and a matte cream blush-think Glossier Cloud Paint in Beam-for 3D definition. Blend upward from apples toward temples, softening edges. Testers saw instant lift, 9 out of 10 preferring it for round, square, and heart-shaped faces. It mimics natural shadow, adds warmth, and lasts eight hours without fading.