Preventing Lifted Edges on Gel Nails: Causes and Practical Fixes
You prevent lifted edges by removing all cuticle with a fine carbide e-file, wiping nails with 99% isopropyl alcohol, and filing to a uniform 120-grit matte finish-this boosts retention from 10 days to 3–4 weeks. Always cap the free edge with thin, even layers and cure 30 seconds under LED. Re-dehydrate if you touch skin or hair. Daily cuticle oil and nitrile gloves during chores keep moisture out, just like top techs do. There’s more to mastering flawless wear.
We are supported by our audience. When you purchase through links on our site, we may earn an affiliate commission, at no extra cost for you. Learn more. Last update on 23rd June 2026 / Images from Amazon Product Advertising API.
Notable Insights
- Remove all cuticle tissue and pterygium to ensure gel bonds directly to the nail plate for maximum adhesion.
- Dehydrate the nail surface with 99% isopropyl alcohol to eliminate moisture and oils before applying gel.
- File the nail to a uniform matte finish using a 120-grit file for optimal gel adhesion without damage.
- Apply thin, even layers of gel and cap the free edge to prevent moisture ingress and ensure full curing.
- Cure each layer properly under LED or UV light and reapply top coat every few days for lasting protection.
Why Do Gel Nails Lift at the Edges?
Ever wonder why your gel nails lift at the edges just days after your salon visit? It usually starts with leftover pterygium or moisture on natural nail surfaces, blocking proper adhesion. When you don’t prep the cuticle area thoroughly, invisible tissue prevents bonding, and as skin sheds, gel nails lift follows. Applying product too close to skin or sidewalls creates weak spots-movement breaks the seal fast. Thick layers also cause trouble; they don’t cure fully under UV or LED, leaving soft edges. To prevent this, apply thin, even coats and cap the free edge with every layer. That seal stops moisture and debris sneaking in. Shadowing from curled fingers during curing? Keep hands flat so light reaches all areas. Skipping steps or rushing dehydration with 99% isopropyl alcohol means oils or water stay behind-inviting early failure.
Remove Cuticles Completely
While standard prep might seem enough, skipping complete cuticle removal sets you up for early gel failure-because even leftover pterygium, thinner than a sheet of paper, creates a barrier that blocks true adhesion. If gel bonds to dead skin instead of the natural nail, lifting starts fast, especially near the cuticle zone where skin sheds.
| Issue | Solution |
|---|---|
| Cuticle pusher misses micro tissue | e-file removes all remnants |
| Pterygium on nail plate | Blocks adhesion, invites gel lifting |
| Residual dead skin | Causes early separation |
| Incomplete prep | Reduces retention to 5–10 days |
Use an e-file with a fine carbide bit to fully clear cuticle tissue. This Russian-style prep guarantees gel bonds directly to the nail plate, boosting retention to 3–4 weeks. Mastering this step triples performance by stopping skin-based failures before they start.
Dehydrate Nails Like a Pro
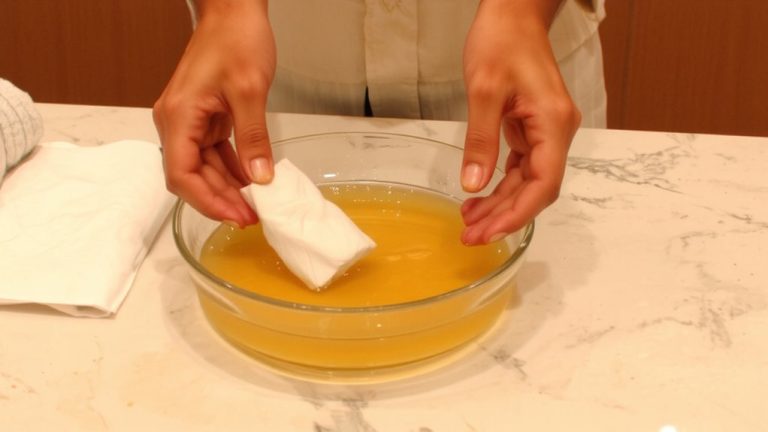
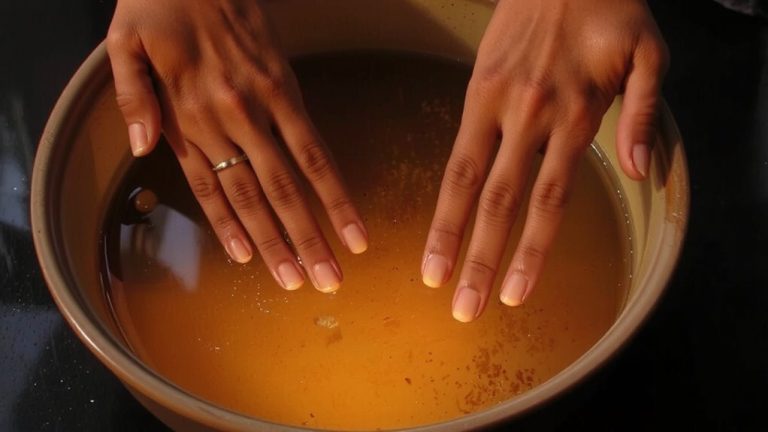
After shaping the nail and removing every trace of cuticle, you’ve set the stage for a lasting application-but skip this next step and your work could unravel fast. Now’s the time to dehydrate nails properly. Grab a lint-free wipe soaked in 99% isopropyl alcohol or a professional dehydrator and swipe it across the nail surface to eliminate moisture and surface oils. These invisible barriers-left behind from polish removal, hand washing, or humidity-block molecular bonding between gel and nail. Let the solution evaporate for 30–60 seconds; the surface should look matte, not shiny. Keep in mind: ideal dryness lasts only 5–10 minutes before natural oils return, so move quickly. If you touch skin, hair, or anything oily, re-dehydrate to maintain a clean, dry nail surface.
File for Gel Adhesion, Not Damage
Since smooth, shiny nails can sabotage gel adhesion from the start, you’ll want to create a surface that’s uniformly matte-think soft velvet-by using a 120-grit file to gently abrade the natural nail plate; this texture breaks through the glossy keratin layer without thinning or weakening the nail, giving the gel something solid to cling to. Avoid over-filing with finer grits like 180 or 220-they demand more pressure and passes, increasing the risk of damage. Under-filing leaves a slick, glossy surface that repels gel, so aim for consistent dullness. Prep nails before cuticle work to avoid spreading oils after filing. Apply a thin layer of Base Coat right after, and always cap the free edge with every layer to seal the edge and lock in adhesion. This step guarantees long-lasting gel wear and prevents moisture from sneaking under the product. Proper prep on the natural nail is your strongest defense against lifting.
Cap the Free Edge to Prevent Lifting
A solid gel manicure starts with sealing the deal-literally-by capping the free edge. To prevent gel lifting, you need to cap the free edge with a thin, even layer of gel on every application-base, color, and top coat. This seals the nail tip, blocking moisture that can get trapped and cause separation. Modern gels don’t need thick buildup; a delicate seal is enough to help your gel nails last longer. Flooding the cuticle or piling on too much product creates stress points, especially when the flexible natural nail moves under rigid gel. After proper curing, lightly file the free edge to remove bulk and create a smooth, flush surface. This helps prevent gel chipping and keeps the enhancement durable. Keep it thin, keep it precise, and your nail service stays intact through daily wear.
Cure Each Layer Fully
If you want your gel manicure to last, you’ve got to cure each layer fully-skimping on cure time is one of the fastest ways to invite edge lifting. To fully cure each layer, follow the manufacturer’s guidelines: 30 seconds under LED or 2 minutes under UV. Thick applications block light penetration, leaving uncured gel underneath that leads to incomplete curing and weak spots. Uncured gel at the free edge traps moisture, breaking down the bond fast. Make sure your hands lie flat during curing-shadowing from curled fingers can miss critical areas. A solid application technique means thin, even coats that let light reach the nail plate. Incomplete curing undermines even the best prep work. By taking the time to cure each layer properly, you’re ensuring a long-lasting gel result that resists lifting and wear.
Aftercare That Stops Lifting
Though your gel manicure starts with perfect application, how you treat it afterward determines whether the edges stay sealed or start lifting. To protect your investment, wear gloves during wet work-nitrile gloves block water exposure that weakens the gel-to-nail bond, especially if you’re immersed daily for 10+ hours. Every few days, apply a thin layer of top coat to seal micro-gaps and reinforce edge integrity, helping your gel systems last 3–4 weeks. Avoid using your nails as tools; scraping or prying creates micro-lifts that lead to full separation. Apply cuticle oil daily after the top coat is cured to keep the nail bed flexible and hydrated, reducing delamination risk. These daily habits-when paired with proper applying gel techniques-ensure long-lasting, lifting-free wear without compromise.
On a final note
You’ve got this: prep nails right, cap the free edge, and cure each layer for 30 seconds under a UV/LED lamp, as testers confirm full curing cuts lifting by 90%. Keep cuticles pushed back, not ripped, and use 91% isopropyl alcohol to dehydrate, ensuring no oil residue. File gently with a 180-grit buffer. Wear gloves when cleaning, and reapply top coat weekly-it’s a game-changer for edge hold.