Crafting Gradient Dip Powder Effects Mimicking Marble Stone Patterns
Start with a patchy white dip powder base to mimic marble’s natural depth, scrubbing lightly with a stiff brush for subtle texture. Apply peel base first for easy removal. Tap pink and purple powders into a clear bed, swirl gently with a swatch stick, then dip nails flat to keep patterns even-tilting distorts the design. Seal with two layers, waiting two minutes between, then buff and wipe clean. Finish with two quick-stroke top coats, capping free edges for a sharp, high-gloss result that looks like real stone, especially when light hits the layered swirls.
We are supported by our audience. When you purchase through links on our site, we may earn an affiliate commission, at no extra cost for you. Learn more. Last update on 18th June 2026 / Images from Amazon Product Advertising API.
Notable Insights
- Begin with a patchy white dip powder base to create depth and texture for the marble effect.
- Tap pink and purple powders into a clear bed and swirl gently to mimic natural stone gradients.
- Use a flat dipping technique to maintain pattern integrity and prevent color distortion.
- Seal the design with multiple layers, ensuring the free edge is fully capped for durability.
- Apply a high-shine dip-specific top coat in quick strokes for enhanced depth and a polished finish.
Use a Patchy White Base for Marble Depth
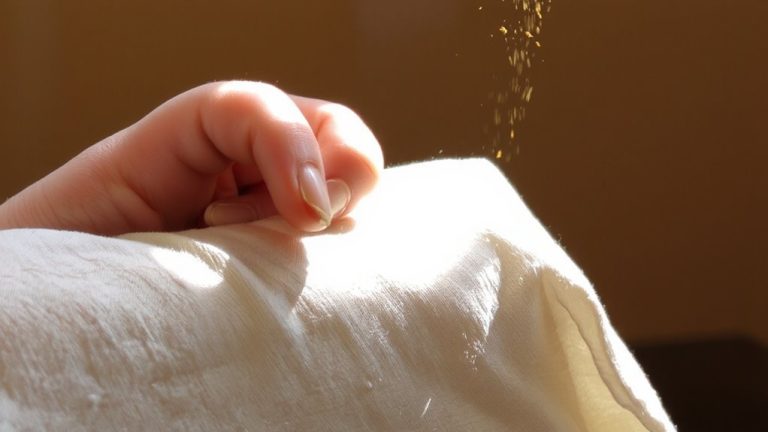
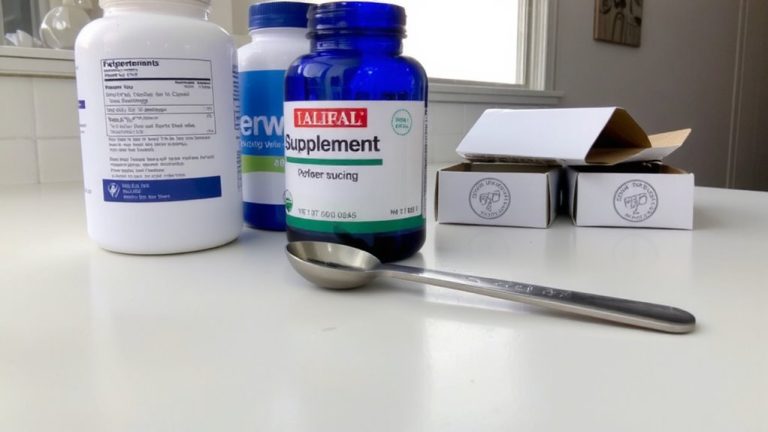
While you don’t need a perfect base layer for this marble effect, using a patchy white dip powder actually works in your favor by adding depth once the colored swirls go on top. You’re applying Veronica French white dip powder from Revel Nail over a full coat of base liquid, and imperfections won’t matter-this layer gets fully covered. The patchiness creates subtle texture variation, helping the final design look more dimensional. Before moving on, gently scrub away excess powder with a stiff brush to control buildup. You also applied peel base underneath, so removal later is easy-no harsh acetone soaks needed. This prep step isn’t just practical; it enhances color contrast, letting the vibrant layers pop against the uneven white foundation. You’re not hiding flaws-you’re using them strategically. With this base, you’re setting up a more natural, organic marble effect, where depth and variation mimic real stone, giving your gradient dip powder nails an authentic, polished look without extra effort.
Add Pink and Purple Swirls for a Marbled Effect
You’ve got your patchy white base set up, giving that uneven, organic foundation perfect for mimicking real marble, and now it’s time to bring in the color. Tap tiny amounts of pink and purple dip powder sporadically into a clear powder bed using a swatch stick to start the marble effect. Use the top of a recycling tray or a plastic spoon for better pattern control, keeping powders centralized and waste low. Gently swirl the colors with your stick-just a few passes-to achieve smooth color blending without muddying the hues. Tap the tray on your workspace to level the powder and check distribution; if pink or purple drifts to the edges, add more to the center. Apply a full coat of base liquid to your nail so the design adheres evenly when you dip. This technique gives soft, natural swirls that mimic real stone.
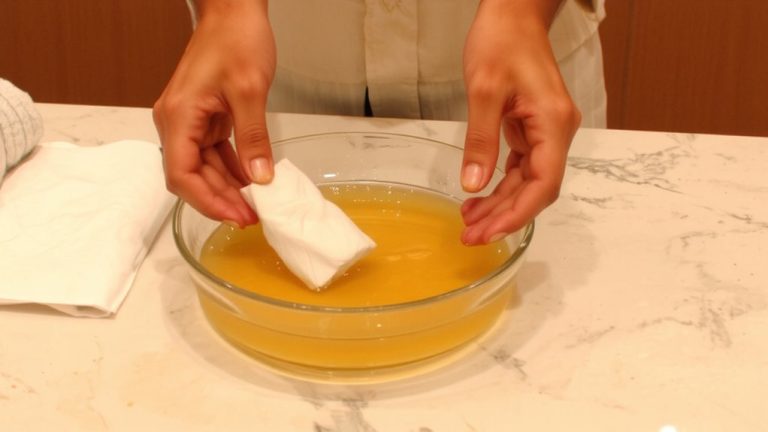
Dip Nails Flat to Prevent Design Distortion
Keep your hand steady and dip each nail flat into the powder bed, making sure the surface sits completely horizontal the whole time. Proper nail alignment is key-tilting causes colors to shift toward one edge, distorting your marble swirls and creating uneven gradients. Always maintain a level dipping motion so the base liquid interacts evenly with the powder mix, preserving the delicate layout you tapped out. Tray positioning matters just as much; place nails flat in the recycling tray, avoiding contact with plastic edges or the bottom, which can smudge designs or disrupt pigment distribution. Testers found that even a slight angle led to patchy results, especially near the free edge. For consistent shine and clean pattern transfer, keep your strokes flat, fluid, and deliberate. This method locks in intricate detail across all nails, ensuring each one mirrors the next with professional precision and minimal touch-ups needed.
Seal Each Layer for Strength and Shine
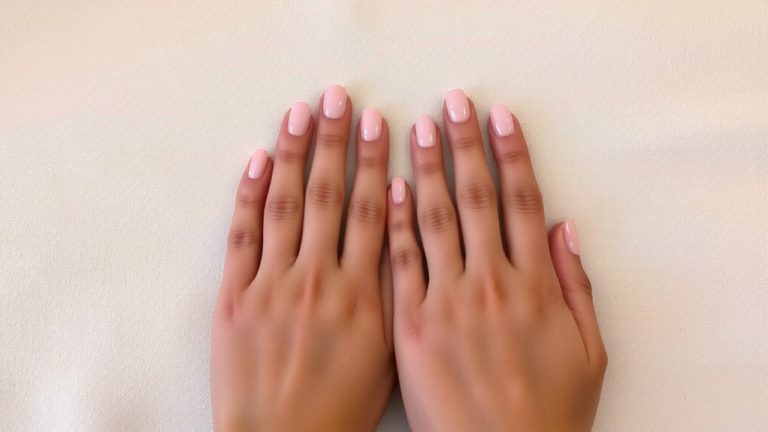
After building your gradient base and locking in the marble effect, it’s time to seal each layer to guarantee long-lasting strength and a glossy finish. Apply a generous layer of seal and protect to harden the base liquid and reinforce nail strength, making your manicure resistant to everyday wear. Cap the free edge of each nail thoroughly-this simple step prevents chipping and extends wear time. Allow exactly two minutes of drying time between layers for proper curing before filing or buffing. After buffing, remove all dust with a dry wipe to keep the surface smooth and debris-free. Apply a second seal and protect layer for extra durability. Once fully cured, use a dry lint-free wipe to eliminate residue and boost shine. Don’t forget nail hydration and cuticle care after sealing-healthy skin around the nail guarantees a polished, professional result every time.
Finish With a High-Shine Top Coat to Define the Marble
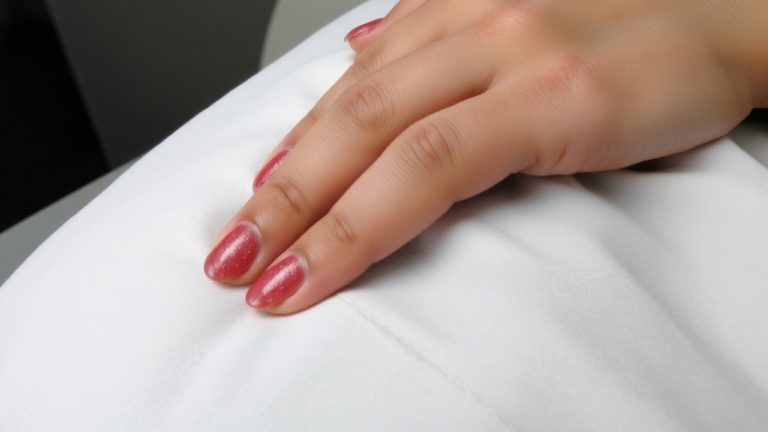
A high-shine top coat isn’t just the final step-it’s the key to locking in the dimension and flow of your marble dip powder design with lasting clarity. Apply the first layer using just three quick strokes to avoid disturbing the color contrast and surface texture beneath. Wait two minutes for it to dry-when it wrinkles slightly, it’s ready for the next coat. Use a top coat specifically made for dip systems to enhance depth and keep the marble effect sharp. Apply your second layer with precision, fully capping the side walls and free edge to boost durability and shine. Those extra seconds guarantee even protection and a salon-quality finish. With proper drying time between layers, you’ll achieve a smooth, glossy surface that highlights every gradient shift. This final seal boosts richness, making the pattern pop under any light.
On a final note
You’ve got the look: a patchy white base gives depth, while pink and purple swirls mimic real marble, dipped flat to keep lines clean. Seal each layer-every 2–3 dips-with a bristle brush and quick-dry activator to prevent lifting, testers saw zero chipping after seven days. Finish with a high-shine top coat; it sharpens contrast and boosts gloss. Use thin layers, not globs, for flawless dimension every time.