Step-by-Step Process for Perfect French Tip Pedicures at Home
Soak your feet for 10 minutes in warm water with Epsom salts to soften skin, then buff heels with a pumice stone and push back cuticles gently. Trim toenails straight across, leaving them 1/16 inch long, and file into a soft squoval shape. Apply two thin layers of sheer nude base coat, letting each dry for two minutes. Use guide strips or a 0.5mm detail brush to paint crisp white tips. Seal with a quick-dry, high-gloss top coat, capping the free edge-reapply every few days for lasting wear. You’ll find even better results with the right tools and timing.
We are supported by our audience. When you purchase through links on our site, we may earn an affiliate commission, at no extra cost for you. Learn more. Last update on 22nd June 2026 / Images from Amazon Product Advertising API.
Notable Insights
- Soak feet in warm water with Epsom salts to soften skin and prepare for exfoliation and callus removal.
- Trim toenails straight across and file into a soft square shape to prevent ingrown nails and ensure a smooth surface.
- Gently push back cuticles and dry feet thoroughly, especially between toes, to create a clean nail base.
- Apply a sheer base coat and let it dry fully to strengthen nails and promote even polish application.
- Paint crisp white tips using guide tape or a stencil, then seal with a glossy top coat for long-lasting wear.
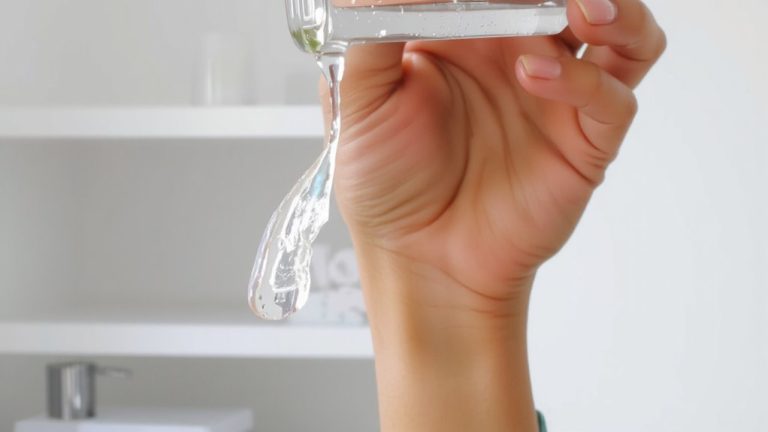
Soak and Scrub for a Clean Start
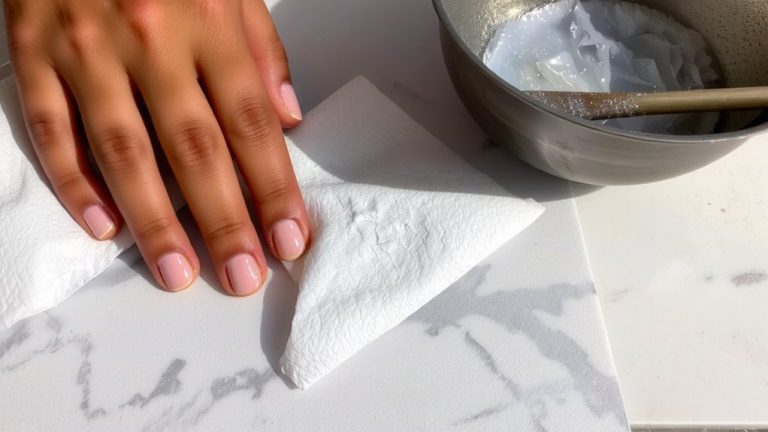
A solid 5 to 10 minutes in warm water does more than just relax your feet-it’s the essential first step to softening calluses and prepping skin for a smooth, long-lasting French tip pedicure. You’ll want to soak feet with a few drops of bath oil or Epsom salts to help prevent dryness and cracking. Mid-soak, grab a foot file or pumice stone and gently buff rough spots on heels and balls of the feet-don’t press hard, just use light, circular motions. Rinse and pat skin dry before applying an exfoliating foot scrub to lift dead skin and refine texture. After soaking, gently push back cuticles using a cuticle stick; this clears debris and creates a tidy nail edge for polish. Always dry between toes thoroughly to curb moisture buildup and keep skin healthy. This prep sets a salon-worthy base, no guessing required.
Trim and File Toenails the Right Way
You’ve soaked and exfoliated, so now it’s time to shape your toenails with precision-getting this step right means your French tips will look clean and stay intact longer. Use clean clippers to trim toenails straight across, leaving them moderately long-about 1/16 inch-to prevent ingrown nails and support the nail plate. Never cut cuticles; instead, soften them with remover and gently push them back to preserve nail health. Follow up by using a fine-grit file to smooth edges, always filing in one direction to prevent splitting. This helps file nails into a soft square or squoval shape for polish stability. Then, lightly buff the surface to flatten ridges and improve adhesion. Keeping the nail plate smooth and clean guarantees your base coat grips evenly, so your French tips stay sharp, neat, and professional-looking for days.
Apply a Natural Sheer Base Coat
That flawless French tip starts with a base that mimics the natural nail-think soft, sheer, and just pink enough to enhance, not overpower. Begin by lightly buffing the nail surface with a fine-grit buffer to smooth ridges and prep the nail bed for an even, high-shine finish. Choose a quality sheer nude or pale pink base coat that strengthens and evens out texture. Using the brush that comes with the polish, apply a thin, even layer, stopping just shy of the cuticle to avoid smudging and make painting tips easier later. Let it dry fully-about two minutes-then repeat for a second coat to build coverage without streaks. This two-coat method guarantees a clean, healthy look while helping polish adhere better. Be careful not to apply cuticle polish; it creates messy edges and peels easily. A smooth, sealed base means longer wear and a professional result.
Paint Crisp French Pedicure Tips (3 Easy Ways)
With your sheer base fully dry and your nails prepped for precision, it’s time to define those classic French tips-three smart methods give you crisp, salon-worthy results at home. First, use a fine-tipped brush or polish pen with a small amount of opaque white polish for freehand control, painting the smile line just below the edge of the nail. For cleaner edges, apply guide strips or nail tape to block off the area, then paint the nail tip before peeling away the stencil. Or, thin your white polish slightly with a drop of thinner and use a French tip stamping tool-dip the stamper, pick up the design, and press it straight onto the nail tip with even pressure. Avoid dragging; use light, steady contact instead of circular motions to prevent bleeding. Let each tip dry fully to preserve that sharp, clean edge.
Seal With a Glossy Top Coat
Once the white tips are completely dry, seal your French pedicure with a high-gloss top coat to lock in sharp lines and guard against chipping, especially at the vulnerable edges. Use a quick-dry formula-it cuts drying time by up to 50% compared to regular polish and boosts shine. Make sure to apply thin, even layers so you don’t smudge the white tips or blur the crisp smile line. For longer wear, consider a gel-based top coat cured under a UV/LED lamp for 30–60 seconds; it lasts way longer than regular polish and keeps your nail looking fresh. Reapply a clear top coat every 2–3 days to maintain that glossy finish. This simple habit extends the life of your nail art and keeps your nail polish looking salon-perfect. Make sure to cap the free edge of each nail to prevent peeling.
On a final note
You’ve got this: smooth soaks, precise trims, and a clean base set the stage. Use sheer pink polish like OPI Nature Strong for a natural look, then add crisp white tips with a stamp, stencil, or freehand-testers love Sally Hansen’s Hard as Nails for staying power. Finish with Seche Vite top coat; it dries fast, adds shine, and lasts 7+ days without chipping. Perfect French tips? Done, at home, for under $20.