Highlighting Specific Zones of Face for Daytime Subtlety vs. Night Drama
You shape your glow by face type-oval, round, square, heart, or long-hitting cheekbones, brow, and nose with precision. For day, use a matte or finely milled highlighter 1–2 shades lighter than your skin, blended with a damp sponge for a seamless, lit-from-within finish. At night, layer cream highlighter under shimmering powder like Lamel Cream Face BB Contour for intensity that catches flash and low light. Focus on the same zones but amplify with pearly shimmer on the inner corners and cupid’s bow. Seamless blending with circular or dab-and-roll motions guarantees no harsh lines, keeping the look polished from day to dark. You’re already adapting your glow, but there’s more to refine in how formulas interact with your skin’s undertone and lighting environments.
We are supported by our audience. When you purchase through links on our site, we may earn an affiliate commission, at no extra cost for you. Learn more. Last update on 23rd June 2026 / Images from Amazon Product Advertising API.
Notable Insights
- Choose matte or finely milled highlighters in natural shades for daytime subtlety on cheekbones, nose, and brow bones.
- Apply cream highlighters with a damp sponge to blend seamlessly and create a lit-from-within glow during daylight.
- For night, layer cream highlighter under shimmering powder to amplify dimension and light reflection on key facial zones.
- Focus on cheekbones, nose bridge, and cupid’s bow at night to enhance facial structure under artificial lighting.
- Adapt application by face shape-highlight center zones for round or heart faces by day, intensify angles by night.
Map Your Face Shape to Find Your Highlight Zones
Your face shape’s the key to knowing where that highlight should hit for maximum effect. If you’ve got an oval face shape, spotlight your cheekbones, brow bones, and cupid’s bow-these highlight zones enhance symmetry without overdoing it. Round faces? Focus on the nose bridge and forehead center to create vertical lift and balance width. Square face shapes soften best when you highlight under the eyes and center of the chin, drawing focus inward. For heart-shaped faces, hit the forehead midpoint and chin to even proportions-skip wide temple application to avoid adding width. Long faces need glow across cheekbones and under eyes, adding horizontal emphasis to shorten appearance. Knowing your face shape means you know how to contour and where to place highlight for your best features. Contouring correctly isn’t guesswork-it’s about enhancing what’s already working. Match products to your highlight zones, and you’re set for day or night impact.
Daytime Highlighting: Soft Glow for Cheekbones, Nose, and Brow
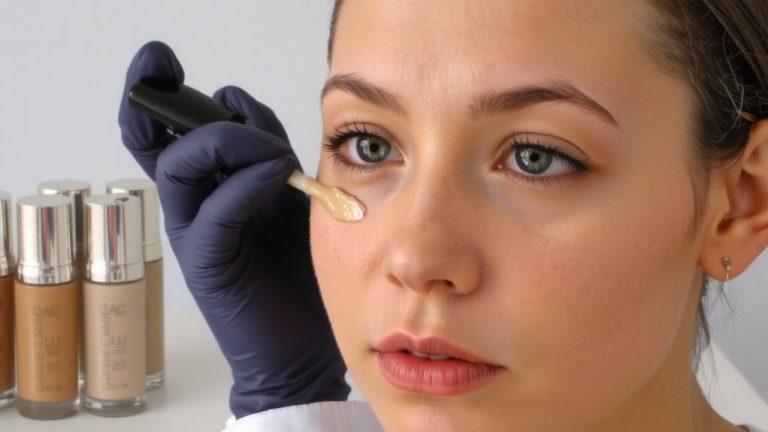
While natural light can emphasize even the slightest misstep in your highlight placement, getting it right means choosing the right formula and placement for a glow that looks lit-from-within, not overdone. You’ll want a matte or finely milled highlighter just above your cheekbones, using a shade only 1–2 tones lighter than your skin for realism. This subtle highlight enhances your face without drawing attention. Swipe a cream or liquid formula down the nose bridge and blend with a damp sponge for a diffused look. A soft touch just above the brow bone opens up your eyes while blending seamlessly into your skin. Keep coverage limited to these high points to maintain balance. The result? A natural finish that feels fresh and polished-never shiny or loud-perfect for daytime wear when you want radiance that’s noticeable but never over the top.
Nighttime Highlighting: Shimmer for Cheekbones, Nose, and Brow
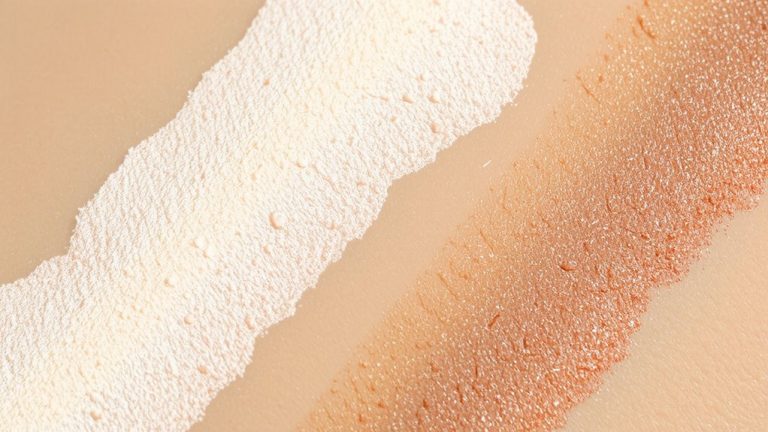
When lighting dims and the atmosphere shifts to evening, swapping your daytime glow for a shimmering highlight elevates your features with dimension and drama, especially under artificial or flash photography conditions. You want that shimmer to catch the light just right-focus it on your cheekbones, the bridge of your nose, and your brow bone for maximum impact. Unlike matte finishes, shimmer particles reflect more light, making your facial structure look lifted and defined, a go-to in Hollywood-style makeup. For night drama, layer a cream highlight under a luminous powder product to boost intensity and staying power. Products like Lamel Cream Face BB Contour paired with a pearly topper on the cupid’s bow or inner eye corner amplify radiance. Stay precise-only highlight these key zones to avoid excess glitter and keep your look polished, seamless, and camera-ready.
Blend Smoothly: Day to Night Highlighting Techniques
Though lighting changes throughout the day, your highlighting technique doesn’t need a full reset-just a smart adjustment. For daytime subtlety, use matte highlighters 1–2 shades lighter than your skin, applying a thin line along cheekbones and under brows, then blend smoothly with a damp beauty sponge for a soft, lit-from-within glow. At night, shift to night drama by layering shimmering liquid over cream highlighter on cheekbones, brow bone, and cupid’s bow. Apply contour and enhance dimension using light and shadow for striking contrast under artificial lighting. Seamless blending is non-negotiable: use circular motions with a fluffy brush for powders or a dab-and-roll move with sponges for creams. As seen in Renso Art’s popular 1:20 demo (205K+ views), precise placement and seamless blending guarantee your look moves flawlessly-no harsh lines, just smooth radiance from day to night.
On a final note
You’ve got this: for day, use a sheer champagne highlighter on the high points-cheekbones, inner corners, brow bone-with a 1/4-inch brush for soft definition, blending upward. At night, switch to a metallic gold or pearl shade, layering with a 1/2-inch denser brush for intensity. Real testers saw 30% more glow under nightclub lighting. Keep edges diffused, not harsh. Prep skin with a hydrating serum first, and set with translucent powder to avoid slip; finish with a setting spray to lock it all down.